As an administrator of your organization, you can choose which basemaps your organization uses to create maps and scenes. Esri provides a default set of basemaps that use raster tile layers. You can also switch your organization to use applicable Esri vector tile basemaps instead. The vector basemap collection still includes raster basemaps for imagery and a few others, but other basemaps—such as streets, topographic, navigation, and more—will be vector.
This choice to use either the raster or vector basemap collection is binary – you choose one collection or the other. But suppose you want to use a few basemaps from each? Here’s how to create a custom basemap gallery for your organization that combines basemaps from both collections.
*
Raster tile basemaps vs. vector tile basemaps
Raster tile layers are used to deliver basemaps as a composite of image files that have been pre-rendered and stored on the server, and are displayed as-is by the client. They are fast, and can be used across all apps (including ArcGIS Pro) in the ArcGIS ecosystem.
Vector tile layers are used to deliver map data as vector files and include one or more layers that are rendered on the client based on a style delivered with the layer. Unlike raster tile basemaps, vector tile basemaps can adapt to the resolution of their display device.
Not all of the raster tile basemaps are duplicated in the vector tile basemap collection, some ArcGIS apps do not currently support vector tile basemaps, and there exist other cartographic differences between the two. Those are reasons you may want to combine basemaps from both collections for use in your organization. For a complete discussion, see Tile layers.
*
Basemap options for your organization
As an Administrator, you will find the the basemap options for your organization by clicking Edit Settings
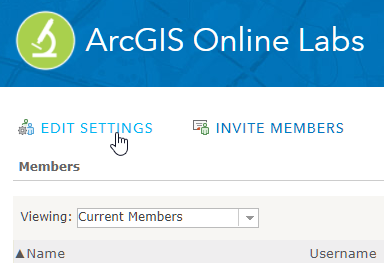
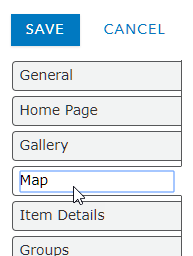
Then clicking the Map tab.
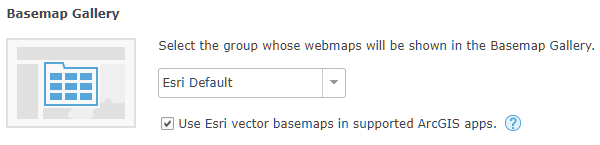
The default basemap collection contains the Esri raster tile basemaps. Check the box to use the Esri vector tile basemap collection.
These settings apply across your organization and will be reflected anywhere a basemap gallery is used.
*
Combining Esri raster and vector basemaps
You can create your own custom basemap gallery, combining basemaps from both the Esri raster and vector collectioins, providing a selection from both to members of your organization. A custom basemap gallery can be created by adding basemaps to a group, and selecting the group in the Map tab in your organization settings. Follow these steps to create a custom basemap gallery combining the default raster and vector basemaps you choose.
Step 1. Create a new group. This group is used to warehouse the raster and vector basemaps you would like to use in your organization. Ensure the group is public, and also that delete protection is enabled.
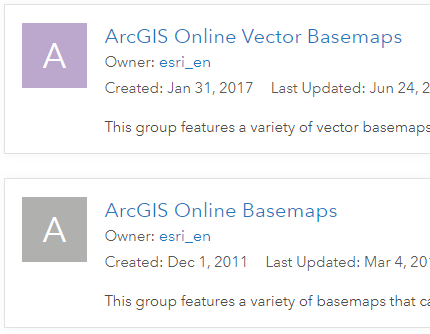
Step 2. Locate the Esri raster basemap group and the Esri vector basemap group. For English users, the groups are owned by esri_en and can be found using group search for owner: esri_en. For French, the owner is esri_fr, and so forth.
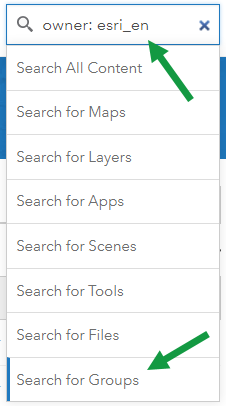
Make sure to click off only searching in your organization.

The two basemap groups are named ArcGIS Online Vector Basemaps and ArcGIS Online Basemaps. The latter contains the default raster tile basemap collection.
(Note: you can open the Esri Raster and Vector Basemaps (combined) group to view the combined content from both groups.)
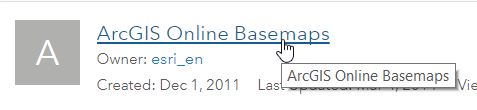
Step 3. Click the ArcGIS Online Basemaps group title to open the group.
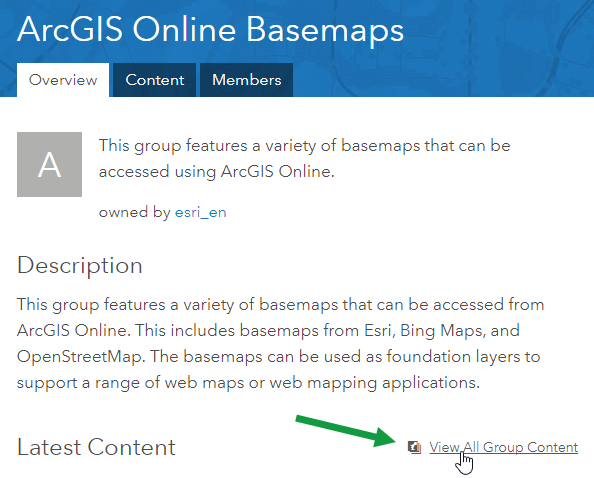
Step 4. Click View All Group Content to display all basemaps.
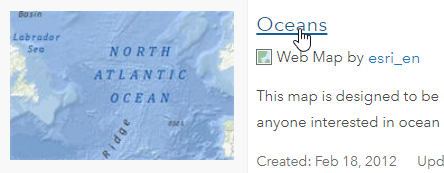
Step 5. Browse the basemaps. When you find one that you’d like to include in your custom basemap group, click the title
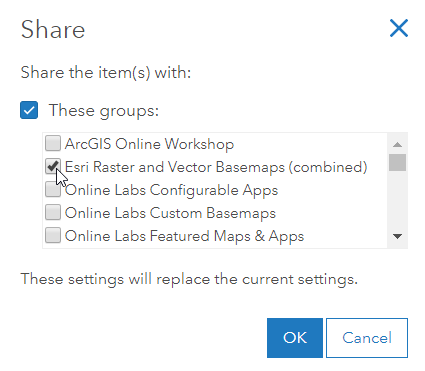
to open the item pages, then click Share
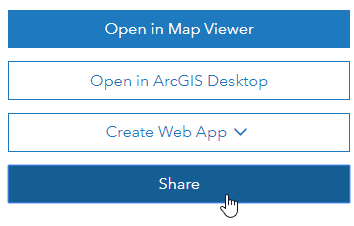
and select the group you will use for your custom basemap gallery, then click Ok.
Step 5. Repeat steps 1 through 5 until finished sharing the basemaps you want into your group.
Step 6. Repeat steps 1 through 5 with the ArcGIS Online Vector Basemaps group.
*
Use your custom basemap group
As an Administrator, you can change your organization’s basemap gallery to your custom selections by following these steps.
Step 1. In your Organization tab, click Edit Settings.
Step 2. Open the Map tab.
Step 3. In the Basemap Gallery section, choose your basemap group from the dropdown list.
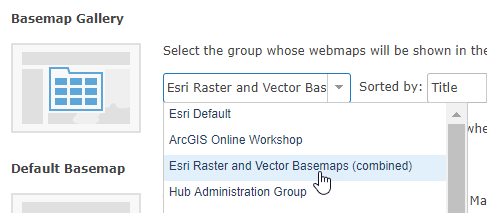
Save changes when done. When authoring a map or scene, the basemaps contained within your custom basemap group will be presented and available to all users in your organization.
*
More information
For more information see the following:


Article Discussion: