There are many ways to configure and administer an ArcGIS Online organization and each method will be unique to that organization’s needs. This blog will point out some best practices and workflows frequently recommended by Technical Support to further streamline administration and increase usability for members.
Enable the Contact Us link:
Enable the Contact Us link to create a direct line of communication between members and administrators. For example, if a member needs additional credits or privileges they can quickly identify their point of contact by clicking the “Contact Us” button.
You can find the “Contact Us” link in the Organization general settings. Enter a website URL or email address in the dialog box to show users how to get in contact with someone in the organization.

When this setting is enabled it displays a “Contact Us” link in the footer.

Grant more than one user the Administrator role:
The default administrator role is a special role in an organization, read more about this here. Administrators can do things such as change organization settings, reset a user’s password, and change the email in a user’s profile. These are tasks no other role can perform.
It’s a best practice to have more than one default administrator, that way at least two members can modify the site, reset passwords, and designate others to the administrator role. It’s especially helpful to have more than one administrator if the only administrator in your organization changes positions or is away on an extended leave.
If you ever find yourself in a situation where the sole administrator has left the company, please contact Esri Support.
Read some tips for creating custom roles here:
The Author, Contractor and some Managers: A Tale of Roles and Privileges
Allow access to the organization through HTTPS only:
This security setting is enabled by default, keep this box checked to ensure that your organization’s data as well as any temporary identification tokens that allow access to your data are encrypted during communications over the Internet.
Many browsers, including Mozilla Firefox and Google Chrome are now requiring websites to use a secure origin like HTTPS to work correctly. One of the largest effects of this change is that applications won’t display the locate button if the application and/or services are using HTTP. The best way to ensure geolocation will work is to only use HTTPS in your organization.
Read more about this here:
Increased web API security in Google Chrome
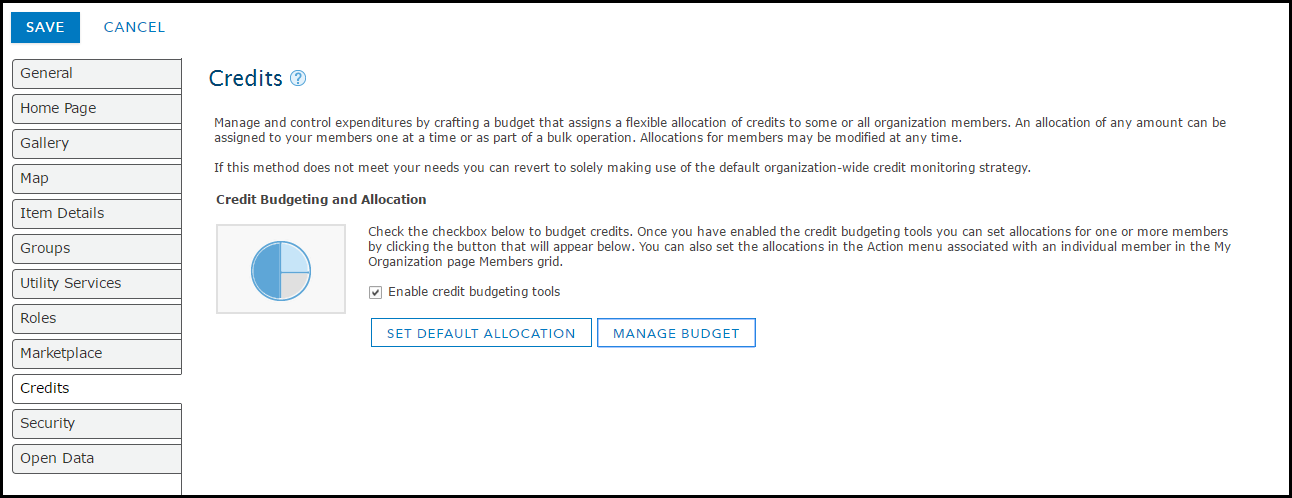
Use Credit Budgeting:
Decide on a budget for your users that will allow them to complete all their daily workflows. If this is standard for most users, set the default allocation so this is automatically assigned to new users. You can always increase this budget as needed, especially if a large task is required.
To enable credit budgeting edit the organization settings and click the credits tab:
Credits allocated to users are spent using tile generation, geoenrichment, geocoding, and analysis services ONLY. Credits spent in publishing features or storing items are not subtracted from individual credit limits, but are subtracted from your organization’s total. Use the View Status dashboard to keep an eye on feature storage for larger items and their owners.
Read more about this here:
Article Discussion: