Styles are collections of symbols and other map components that can promote consistency across related map products or organizations. Styles created in previous versions of ArcGIS for Desktop can be used easily in ArcGIS Pro. To import these files:
- In ArcGIS Pro, on the Insert ribbon tab, in the Styles group, click Import.

- Browse to a style file(.style) on your machine or network and click Ok.
Importing a style creates an ArcGIS Pro version of the style, which has a .stylx file extension. It is automatically saved into your project directory and is added to the project. If any of the symbols in the imported styles reference fonts, make sure to install those fonts on your local computer before importing the styles.
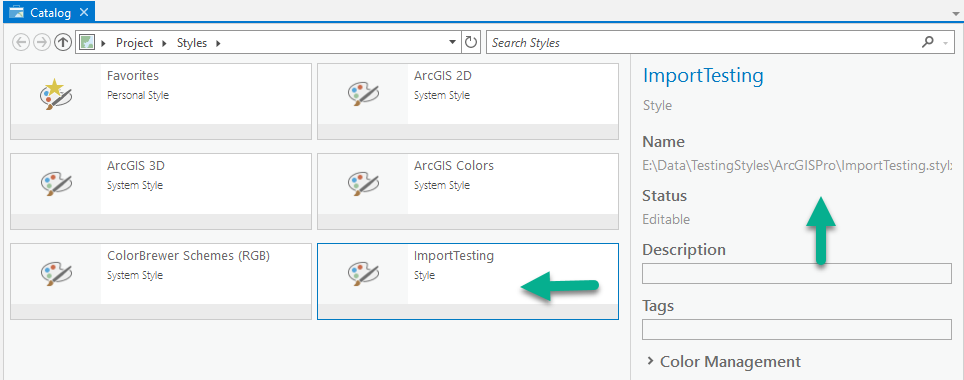
After you import the styles, on the View ribbon tab, click Catalog View button to open a catalog view. Inside the Styles category, you will see the imported style in the project, along with its folder path location. On its details panel, it will show its folder path after conversion to Pro style file.

To download ArcGIS Desktop styles from online:
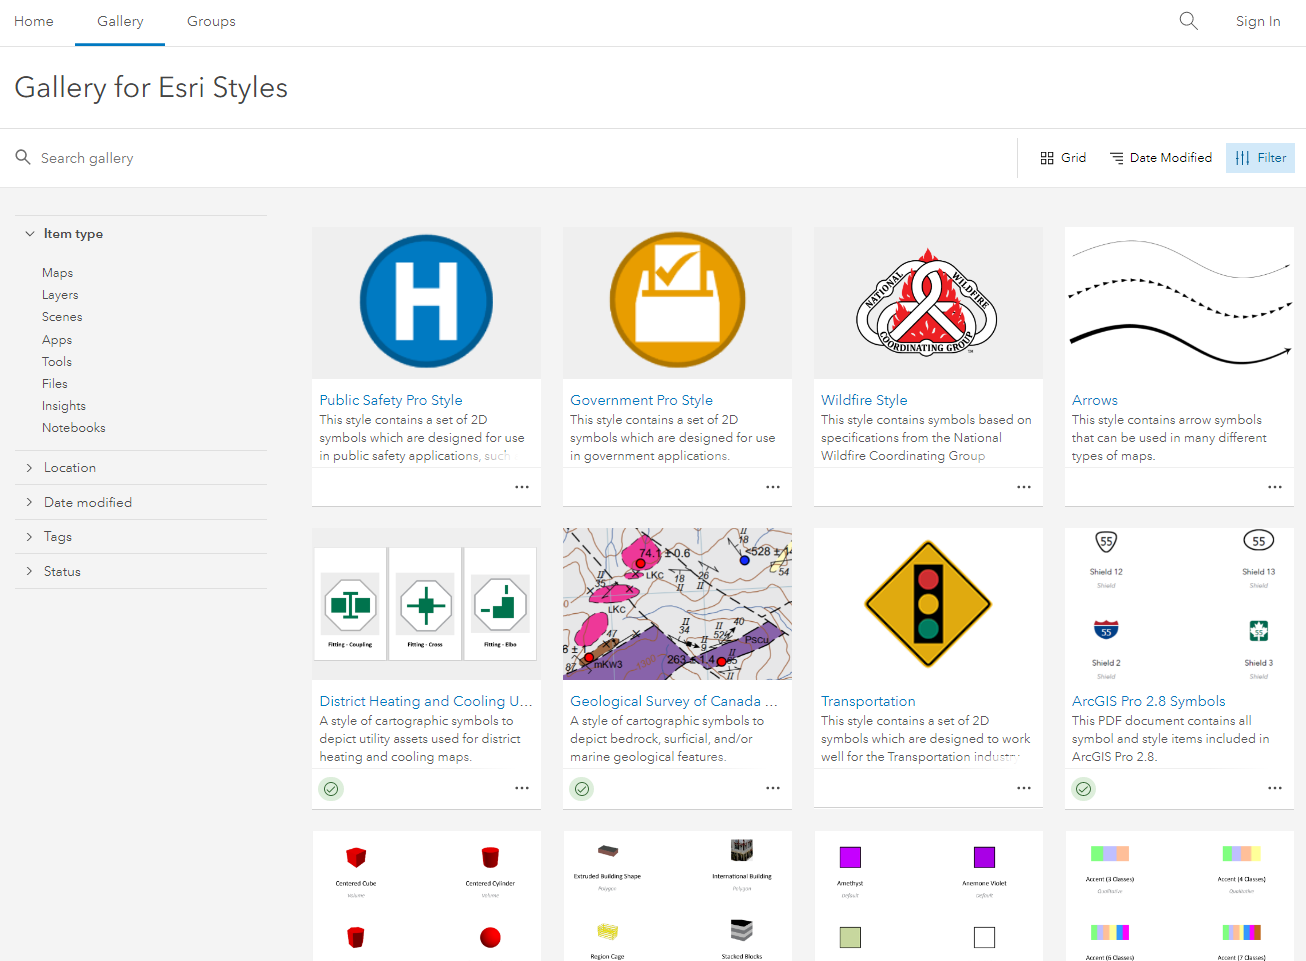
Many of the industry specific styles that were part of previous versions of ArcGIS Desktop are not included in the ArcGIS Pro download. Instead, ArcGIS Pro versions of these styles are available online on the Esri Styles page. This keeps the software download small and allows us to deliver updates to styles much faster since updates are independent of software releases. We have an on-going effort to modernize our entire style offering, but we still want to make our older styles readily available.

- Download a style locally from https://esri-styles.maps.arcgis.com/home/gallery.html.
- Open ArcGIS Pro, on the Insert tab, in the Styles group, click Add and click Add Style.
- Browse to the downloaded style file (.stylx) and click Ok.
To access styles within ArcGIS Pro:
- Open ArcGIS Pro, and ensure that you are signed into your ArcGIS organization.
- On the View ribbon tab, click Catalog Pane button.
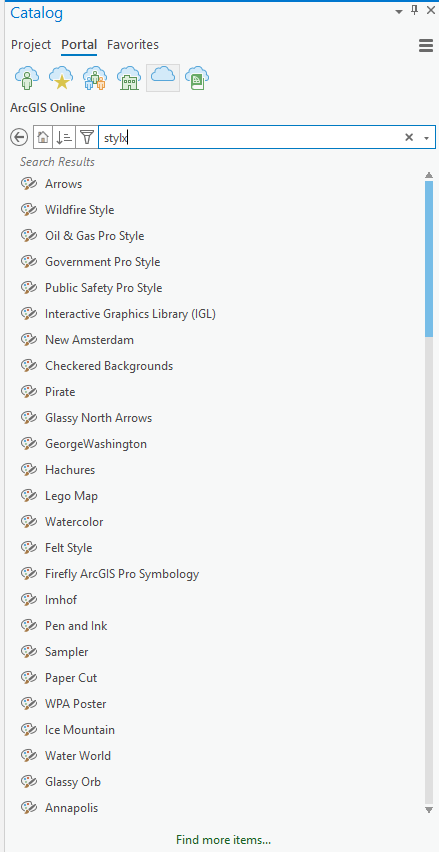
- From the Catalog Pane, click on Portal tab and click ArcGIS Online.
- In the Search box, enter “stylx”.
Note: All portal styles that match the search criteria will be returned.

- Right-click on any of the styles, click Add Style.
The style is downloaded to %UserProfile%\Documents\ArcGIS\OnlineStyles and is automatically added to the project. If the downloaded style was created using an older version of ArcGIS Pro, an upgrade will be necessary.
For more information on working with styles in ArcGIS Pro visit:

Commenting is no longer enabled for this article