Note: This blog covers the classic Esri Story Maps. Story authors are encouraged to use the new ArcGIS StoryMaps to create stories; however, Esri will continue to maintain the classic templates for your use. For more information, see the Product road map.
Story Map Cascade helps you build a story with a full-screen scrolling experience that blends narrative text and engaging content. Sections containing text and in-line media can be interspersed with immersive sections that fill the screen with your media and smoothly transition between animated 2D and 3D maps, images, and videos.
Cascade was first released three months ago in June 2016, and there have been many beautiful stories created with it so far. In fact, there are now over 1000 public Cascade stories on ArcGIS Online. Check out our gallery, where you can some of the very best.
The first update to Cascade was just released, so read on to find out what’s new in the September 2016 update.
But before we get to the new stuff, we’d like to thank everyone who submitted feedback on the first Cascade beta release. We used your feedback to focus our development efforts and we encourage you to continue to communicate your requests and issues to us on GeoNet, which you can easily find via the “Beta Feedback” link in the Cascade builder panel.
Finding and using images
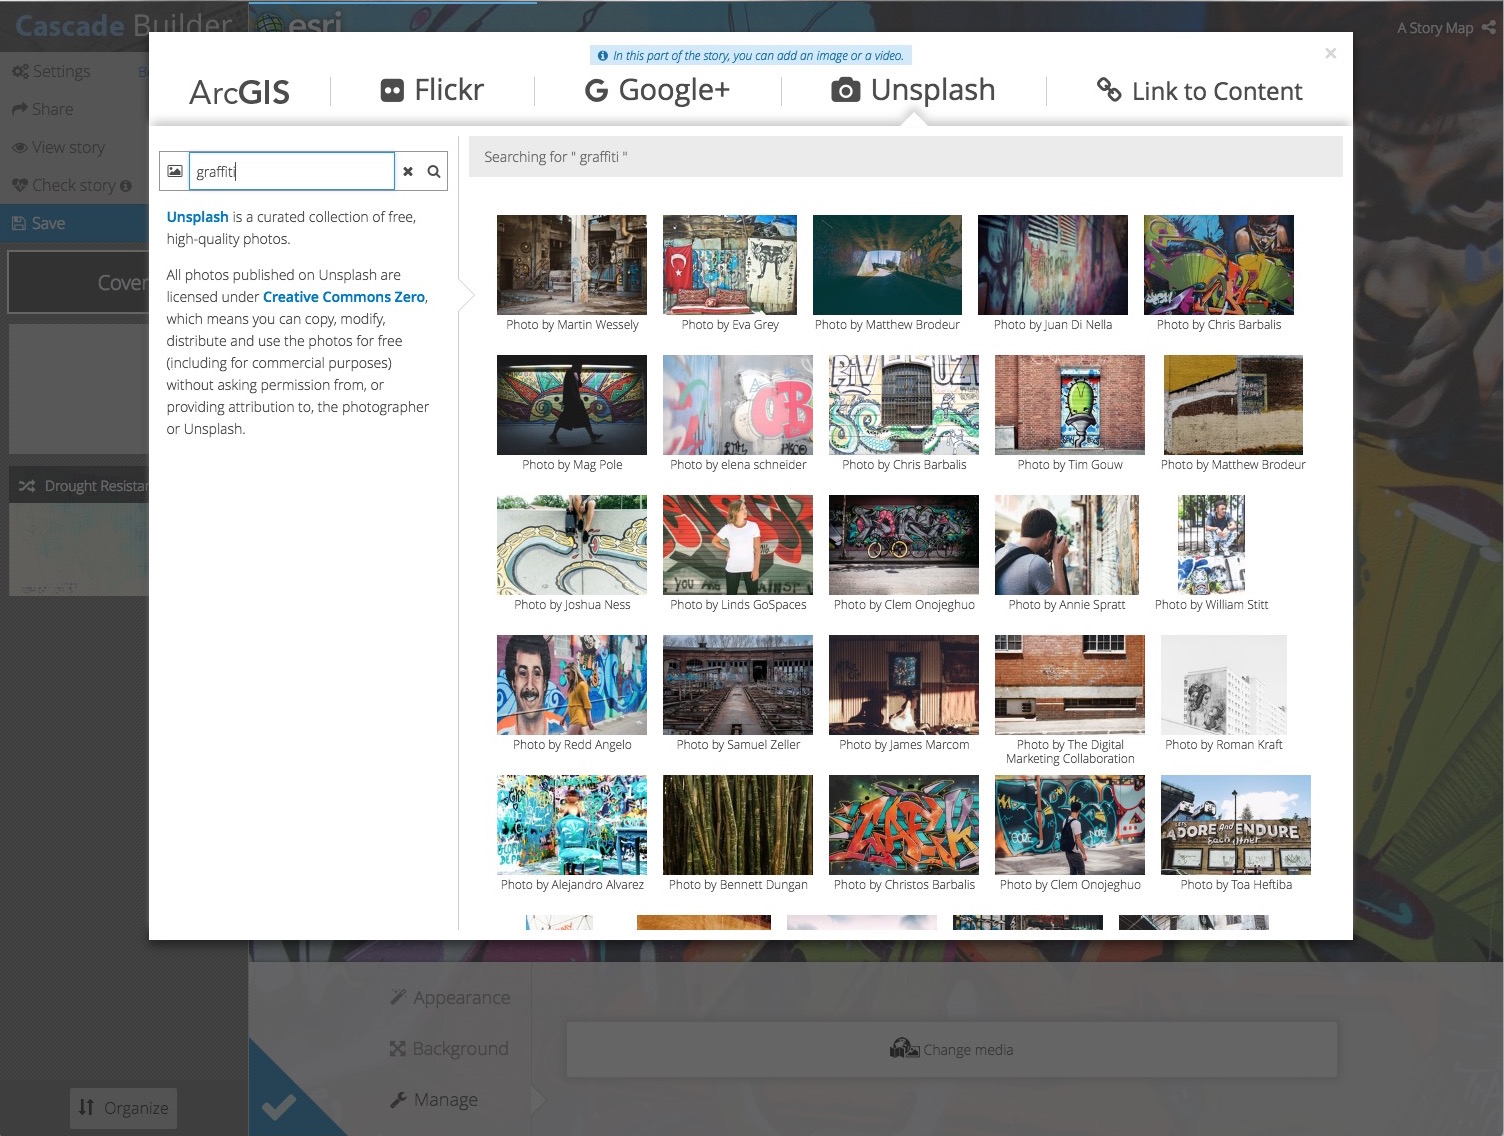
Stunning photos can help your story make an impactful first impression and grab your audience’s attention, but sometimes you just don’t have the right image. In addition to the option to search Flickr for public photos, you can now also search the curated web collection Unsplash for amazing stock photos.
All photos on Unsplash are licensed under Creative Commons Zero, which means you can use them however you want (even for commercial use) without obtaining permission, crediting, or paying the photographer or Unsplash. They’re totally free — no strings attached.
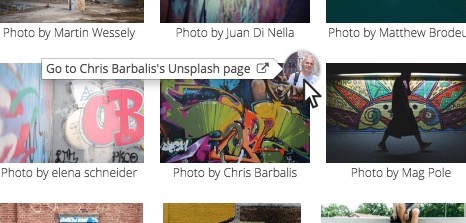
Of course it is good practice to credit others’ work, so we encourage you to consider adding image credits to the caption or credits section of your story even if you do use images from Unsplash. If you want to check out the photographer’s page on Unsplash hover over an image, then click the profile pic that appears in the upper right.
It’s also easier to get images from your computer into your Cascade story because you can now upload multiple images at once. Just drag a batch of images onto the drop zone on the ArcGIS tab of the Media Picker and they will all be loaded into your ArcGIS account.
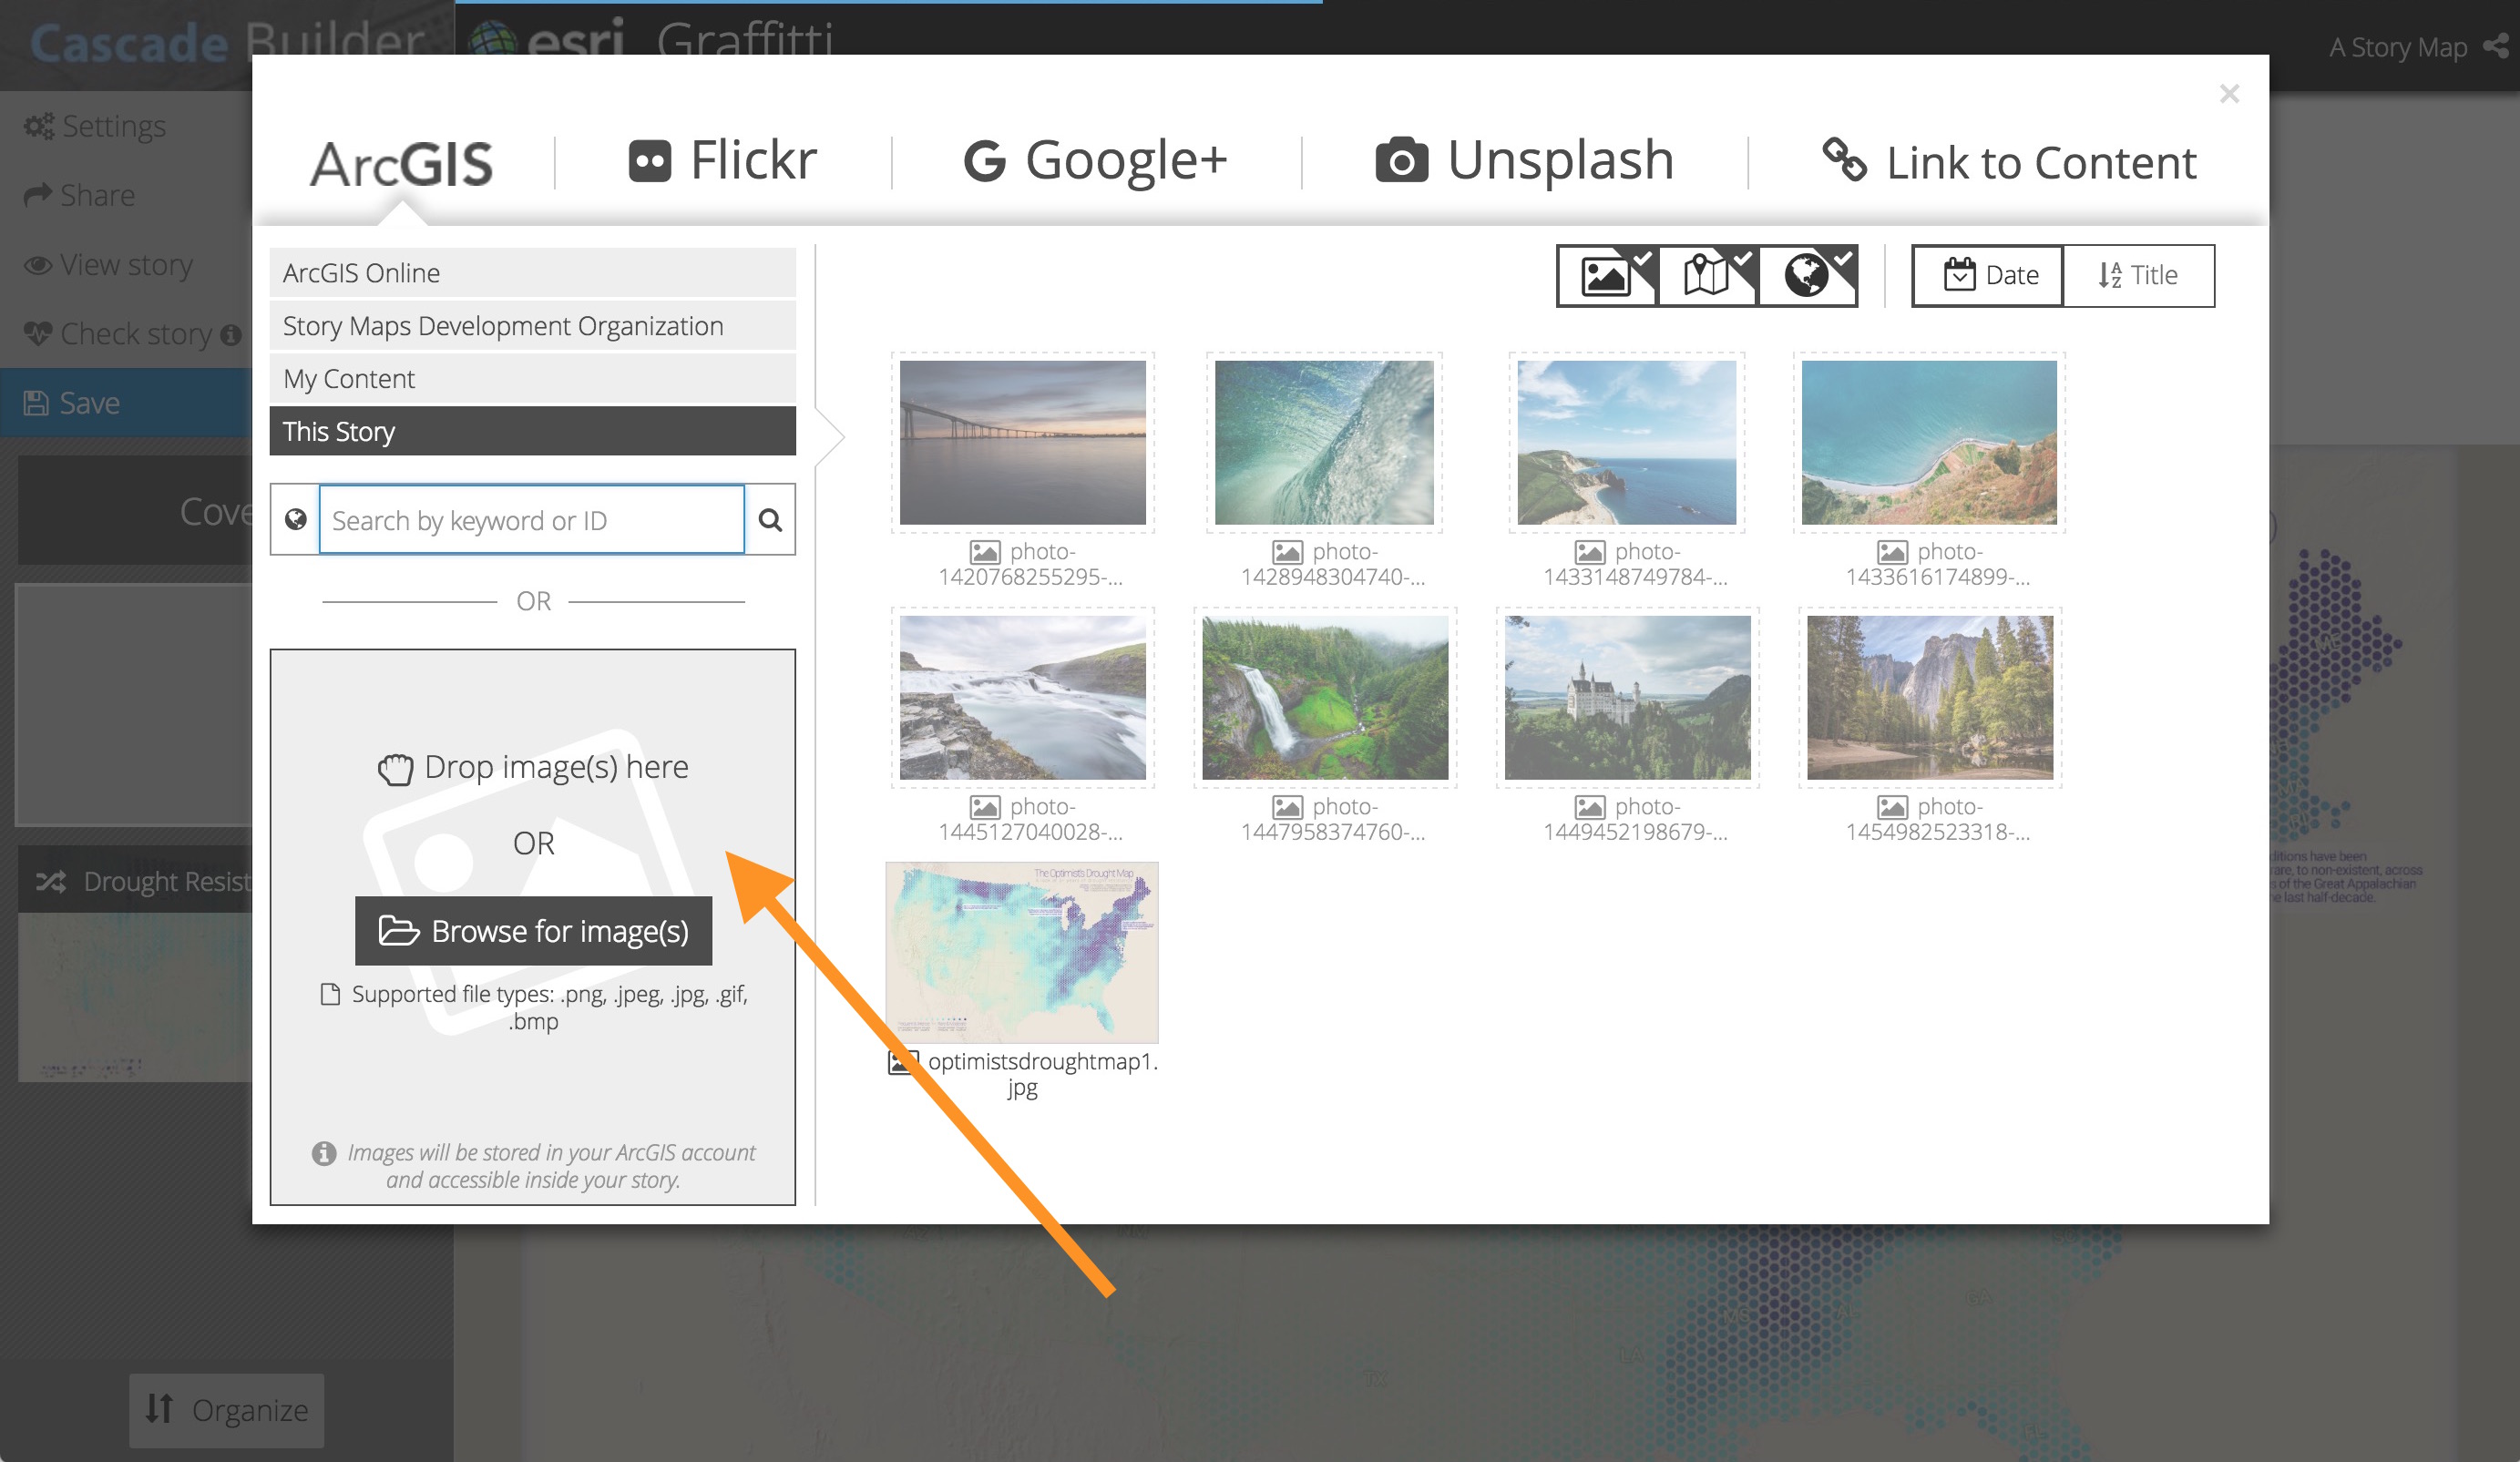
You can click any image that’s done uploading to add it to your story and continue building while rest of the images process and upload in the background. To insert another image later add media using one of the + buttons and go to ArcGIS > This Story. Uploaded images are resampled and optimized and are always shared the same way as your story, so you don’t have to worry about large images slowing down your story or permissions issues.
Colorful narrative
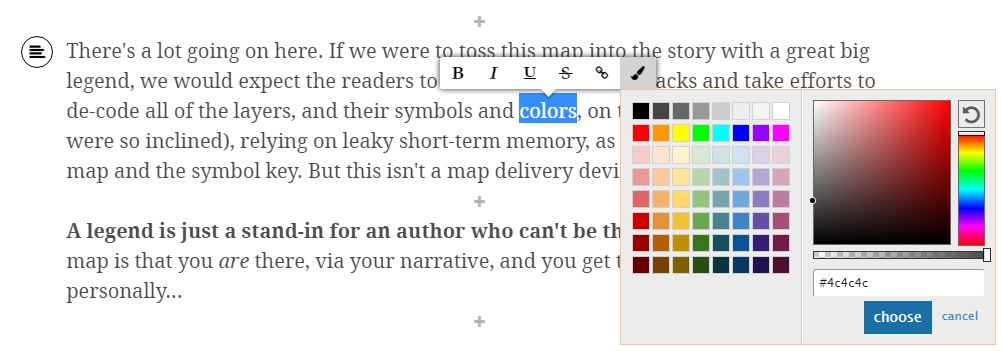
You can now use color to format narrative text and captions in narrative sections and immersive section panels.
Check out this great Cascade story that shows creative ways to use the new text color options to add legends to your story maps.
Title Themes
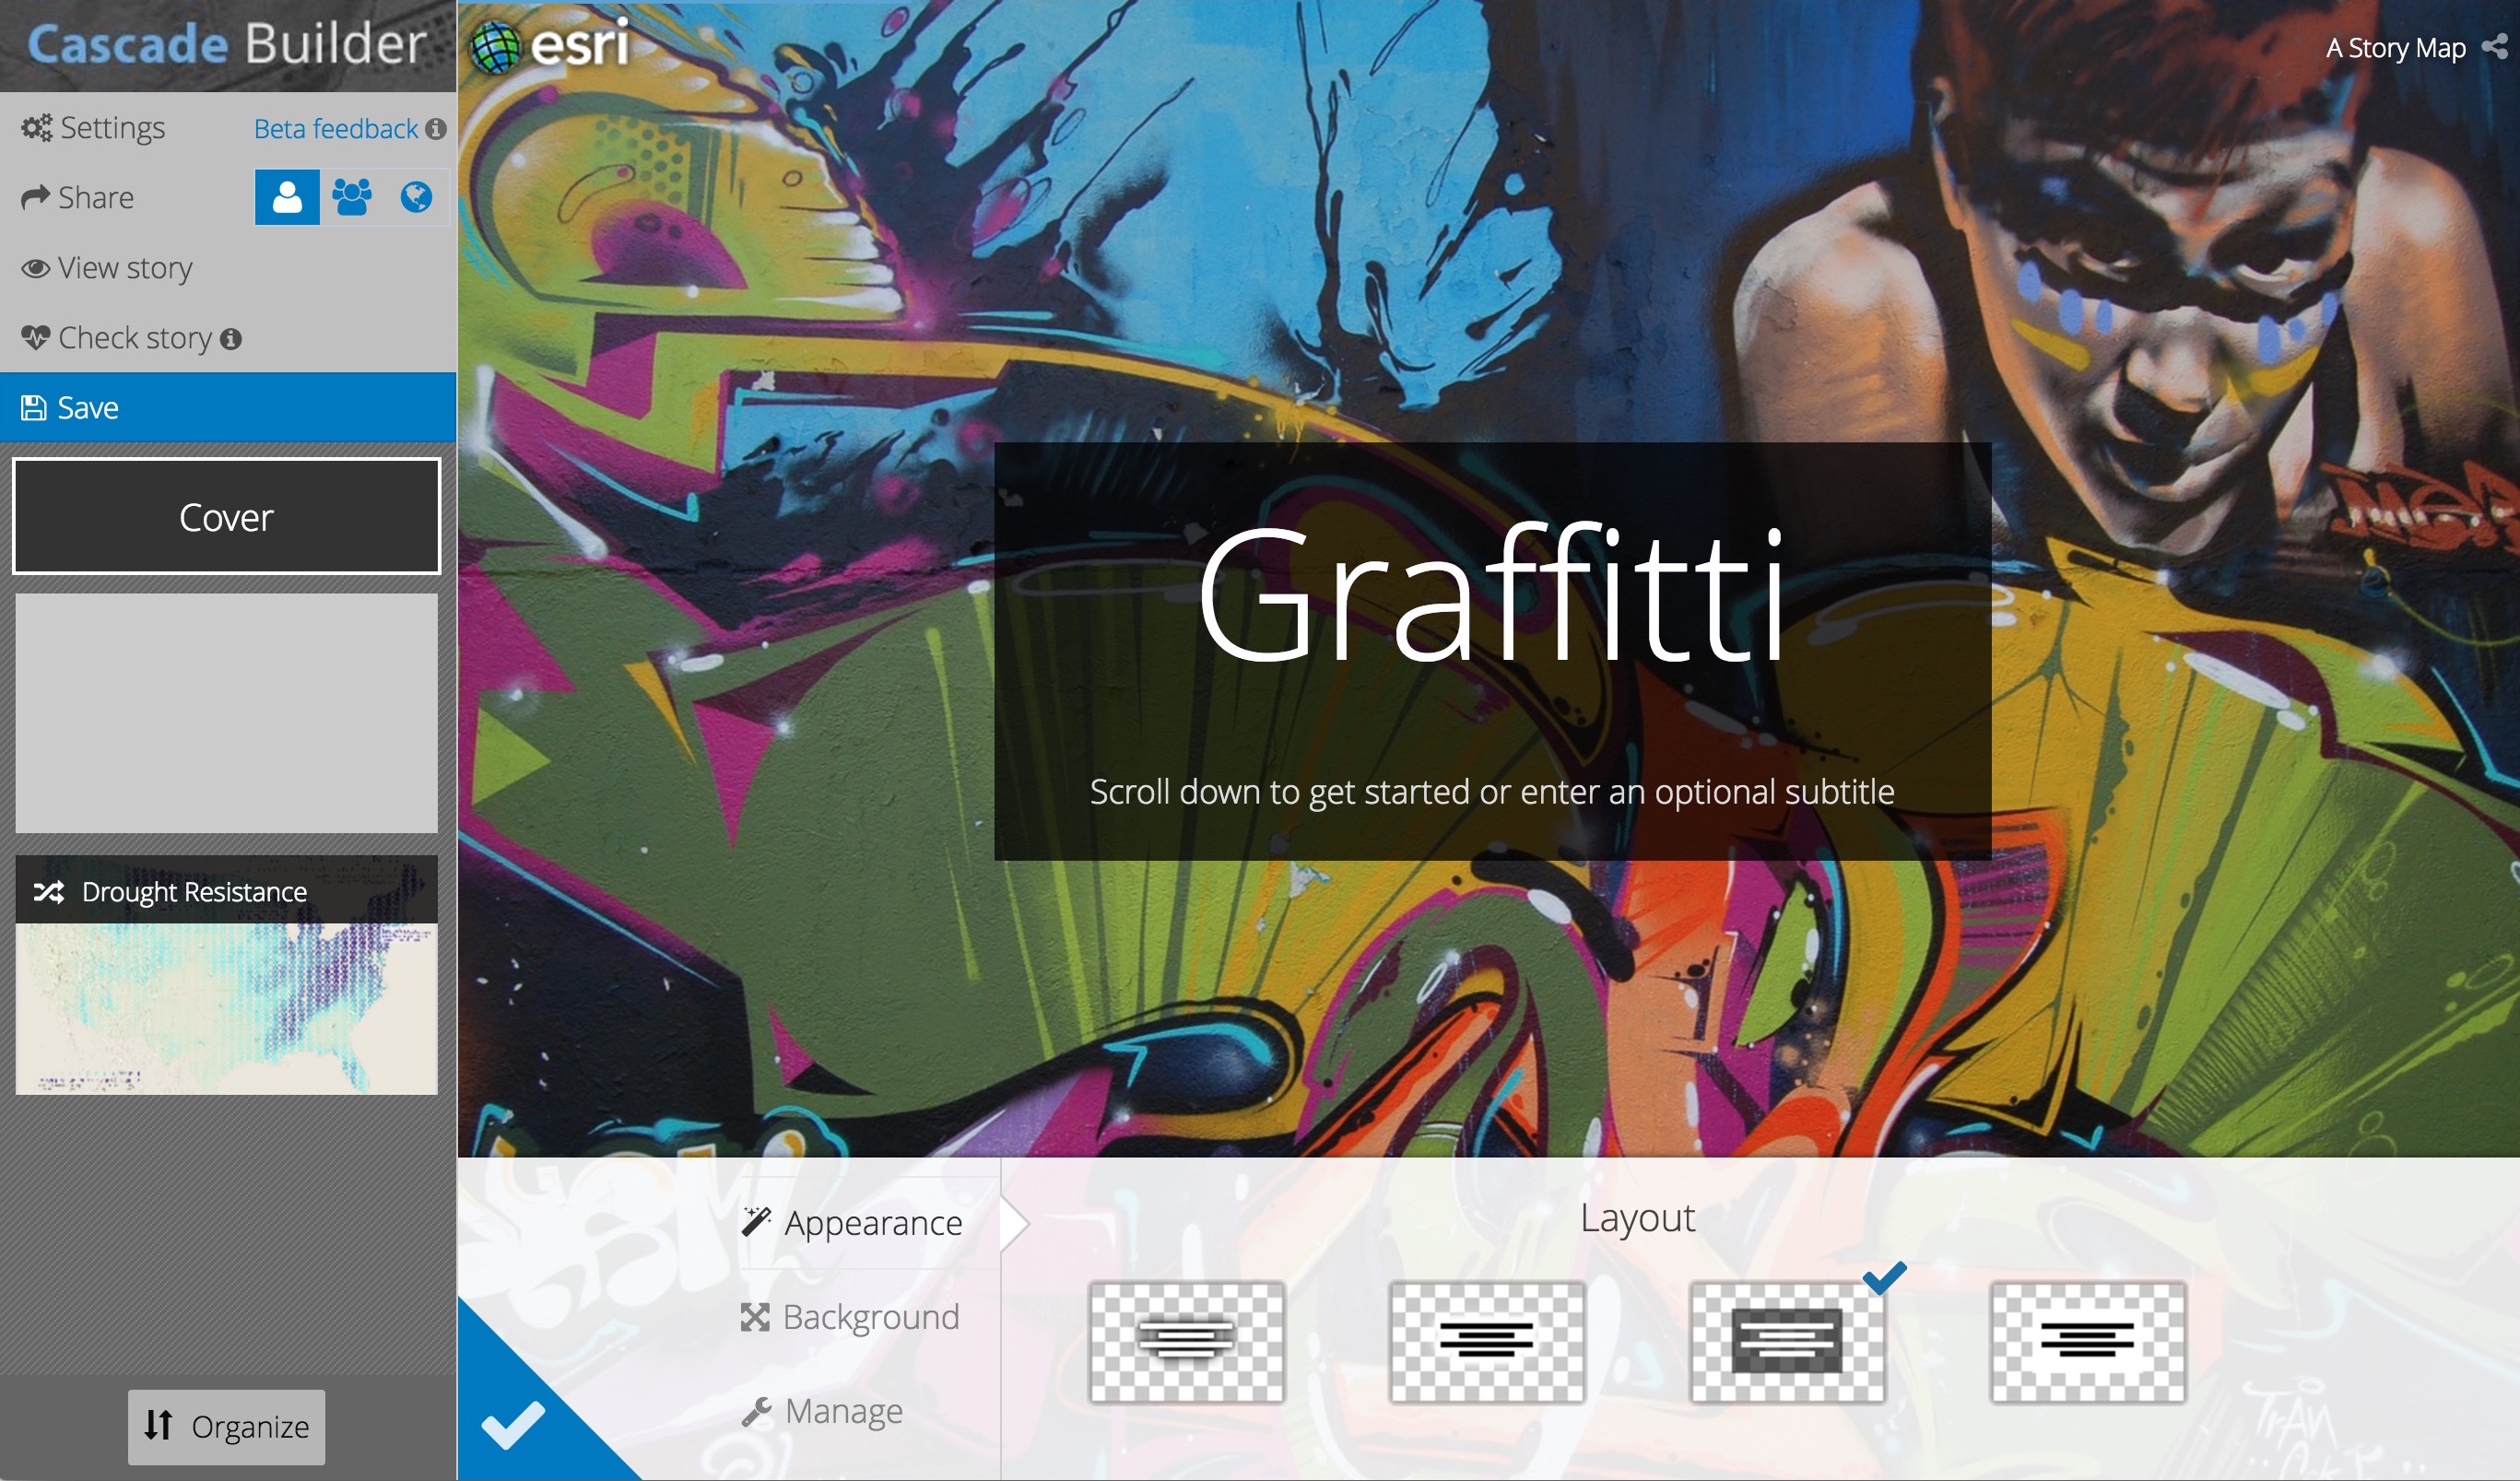
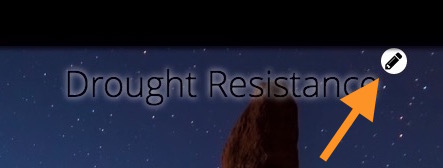
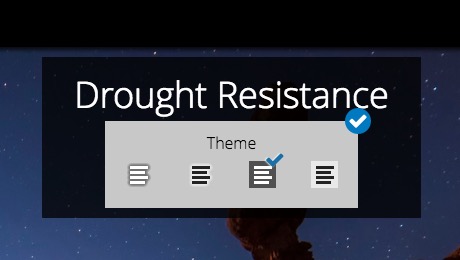
It is also possible to choose light or dark text and set a background panel for text that floats over images to make it easier to read. This setting is available on the Appearance tab of the configuration panel for the cover page and title sections and by clicking the pencil icon next to titles in immersive sections.
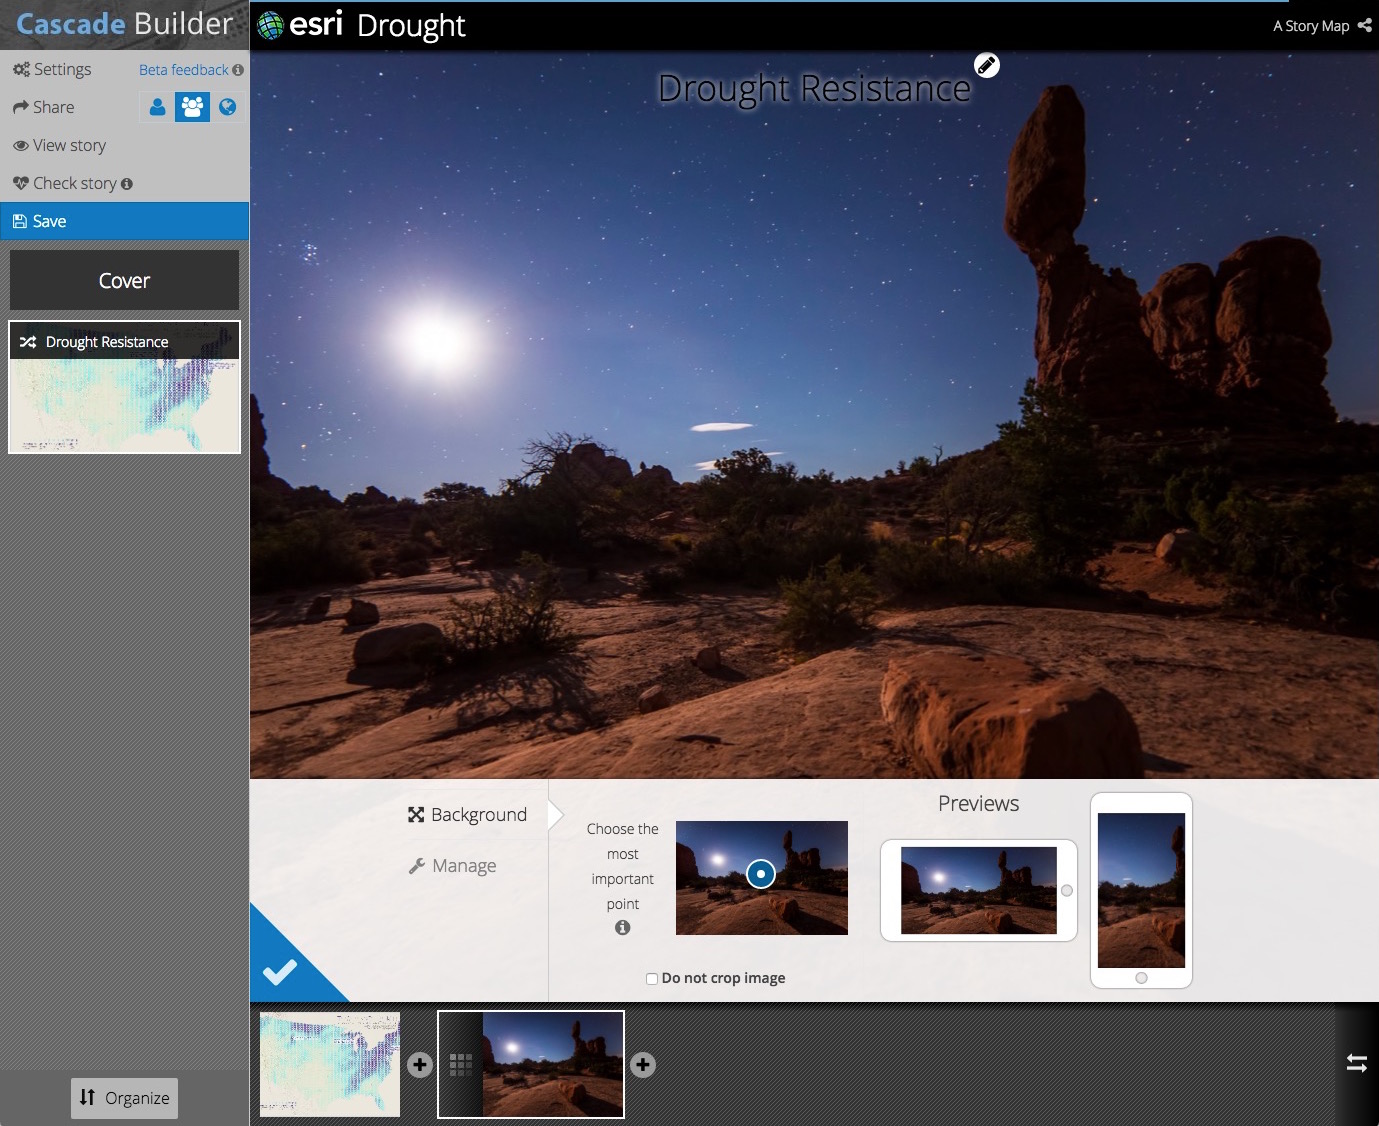
To crop or not to crop
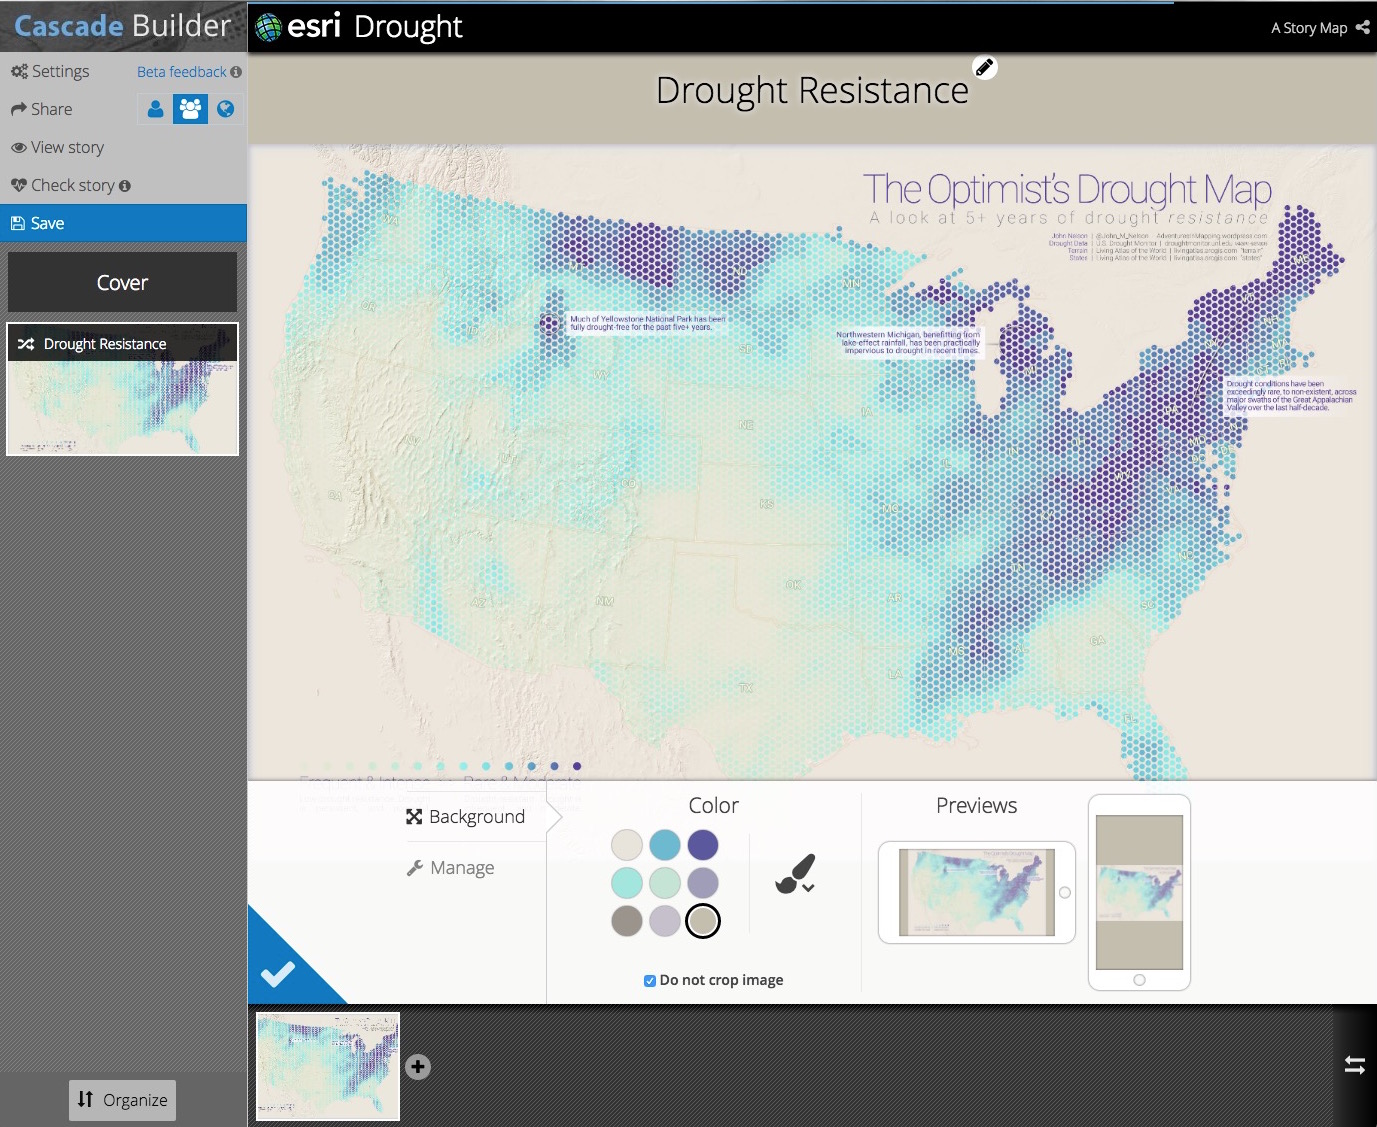
When adding photographs to an immersive section you usually want them to fill the page; however, if you add an infographic, chart, map, or diagram it’s best not to crop — these types of images should be visible in their entirety so no important information is cropped out.
You can now choose to not crop an image so that your readers will see it in its entirety on any monitor or device. In the media configuration panel check the Do not crop image option and choose a background color for the space around your image. If you don’t like any of the background color suggestions, click the paintbrush to choose your own. You’ll see a preview for how the image will look on mobile devices.
If you stick with the normal image positioning where the image fills the available space, you can choose a focus point to specify what part of the image will always be visible. This is useful for photos that contain an important or interesting feature.
Notice in the second example below how the blue focus point was set to ensure the rock feature in the far right of the photo appears in the story, even in portrait view on a mobile device.

Autoplay
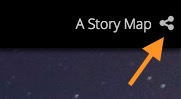
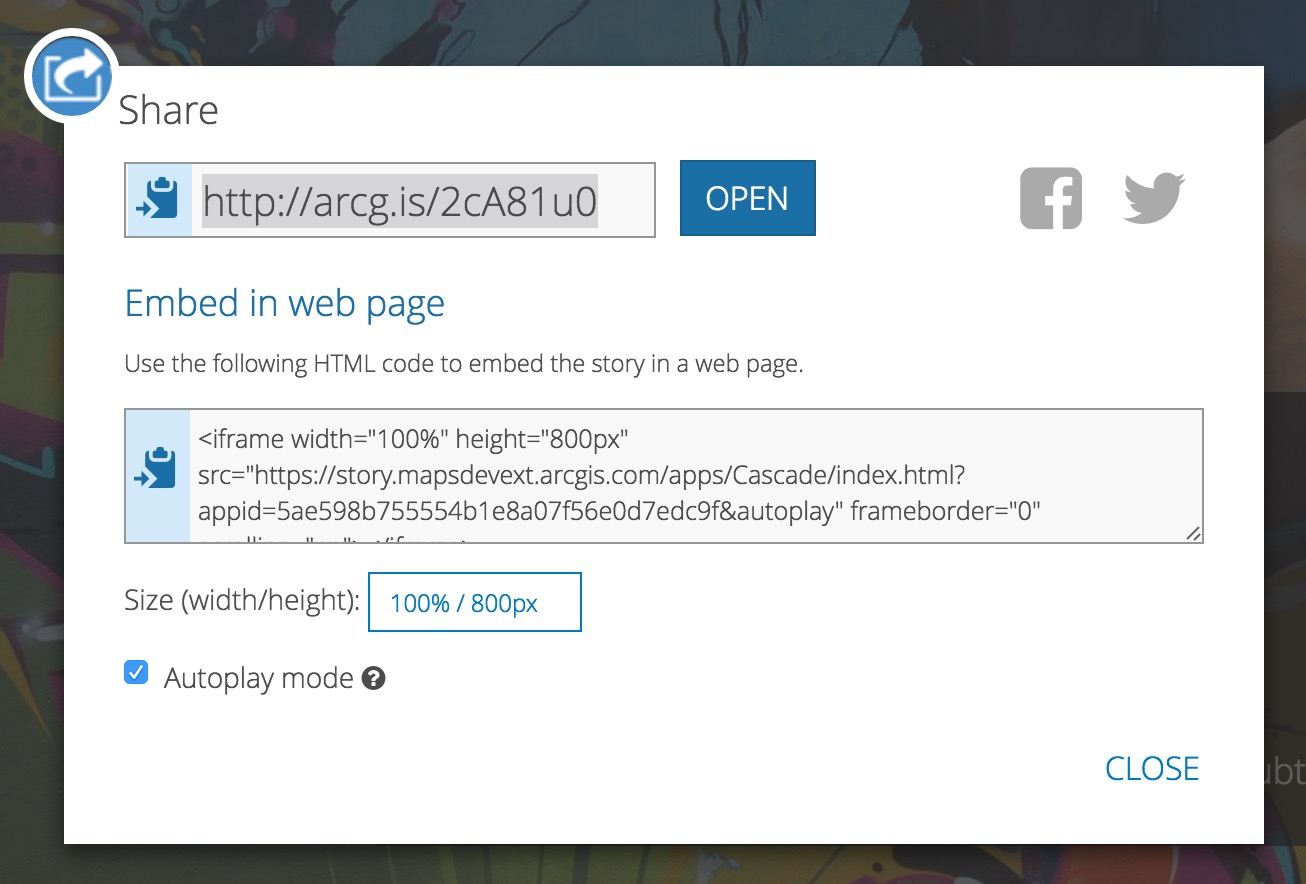
Your beautiful Cascade stories can now be set to play unattended at a trade show kiosk or on a large display monitor in your lobby using autoplay mode. Click the share icon at the top right of the story and check the box to enable autoplay mode. The URLs in the Share panel will update so you can Open your story in autoplay mode or copy it to send to someone else.
Manage your Cascade stories
Cascade stories now appear in your My Stories list and they can be scanned for errors. Problems with broken links and sharing issues will be discovered and you’ll be given suggestions on how to address the problems. Note that a current limitation is that web scenes are not yet scanned, so My Stories will not detect issues with your 3D layers.
Cascade is also now included in the Create Story Wizard, which is a tool on the Story Maps website that helps you figure out the best Story Map app to use.
Other enhancements
- You’ll notice improvements to the initial experience of creating a story, and the look and feel of how text and media are added to a story. You can now quickly remove media from your narrative section by hovering over it and clicking the trash icon.
- Adding and removing sections (and undoing the removal of sections) is much easier and more consistent. For example, when you insert a Title or Immersive section in the middle of a narrative section the narrative now splits at the insertion point, as you would expect.
- We’ve also improved the look and feel of the text and paragraph spacings and replaced the story font (for font geeks, it’s now Droid, which replaced Lora).
- There have been many visual tweaks and improvements: Media Picker and notification panels look cleaner; colors, icons, and button styles have been standardized; there’s a more deliberate look to map configuration and organize modes; and a lot more.
- Lots of issues and bugs fixed!
More information
- Learn more about Story Map Cascade on the Story Maps website
- Learn how to use the Story Map Cascade builder in this series of posts
- Tips for creating a great Cascade story

Commenting is not enabled for this article.