Note: This blog covers the classic Esri Story Maps. Story authors are encouraged to use the new ArcGIS StoryMaps to create stories; however, Esri will continue to maintain the classic templates for your use. For more information, see the Product road map.
This post in the series on using the Story Map Cascade builder focuses on configuring media.
Configuring how media items (particularly maps and scenes) are displayed in your story is a critical storytelling feature of Esri’s Story Map apps. This helps elevate your work from “a story with maps in it” to an integrated work where the maps truly support the narrative – a true story map.
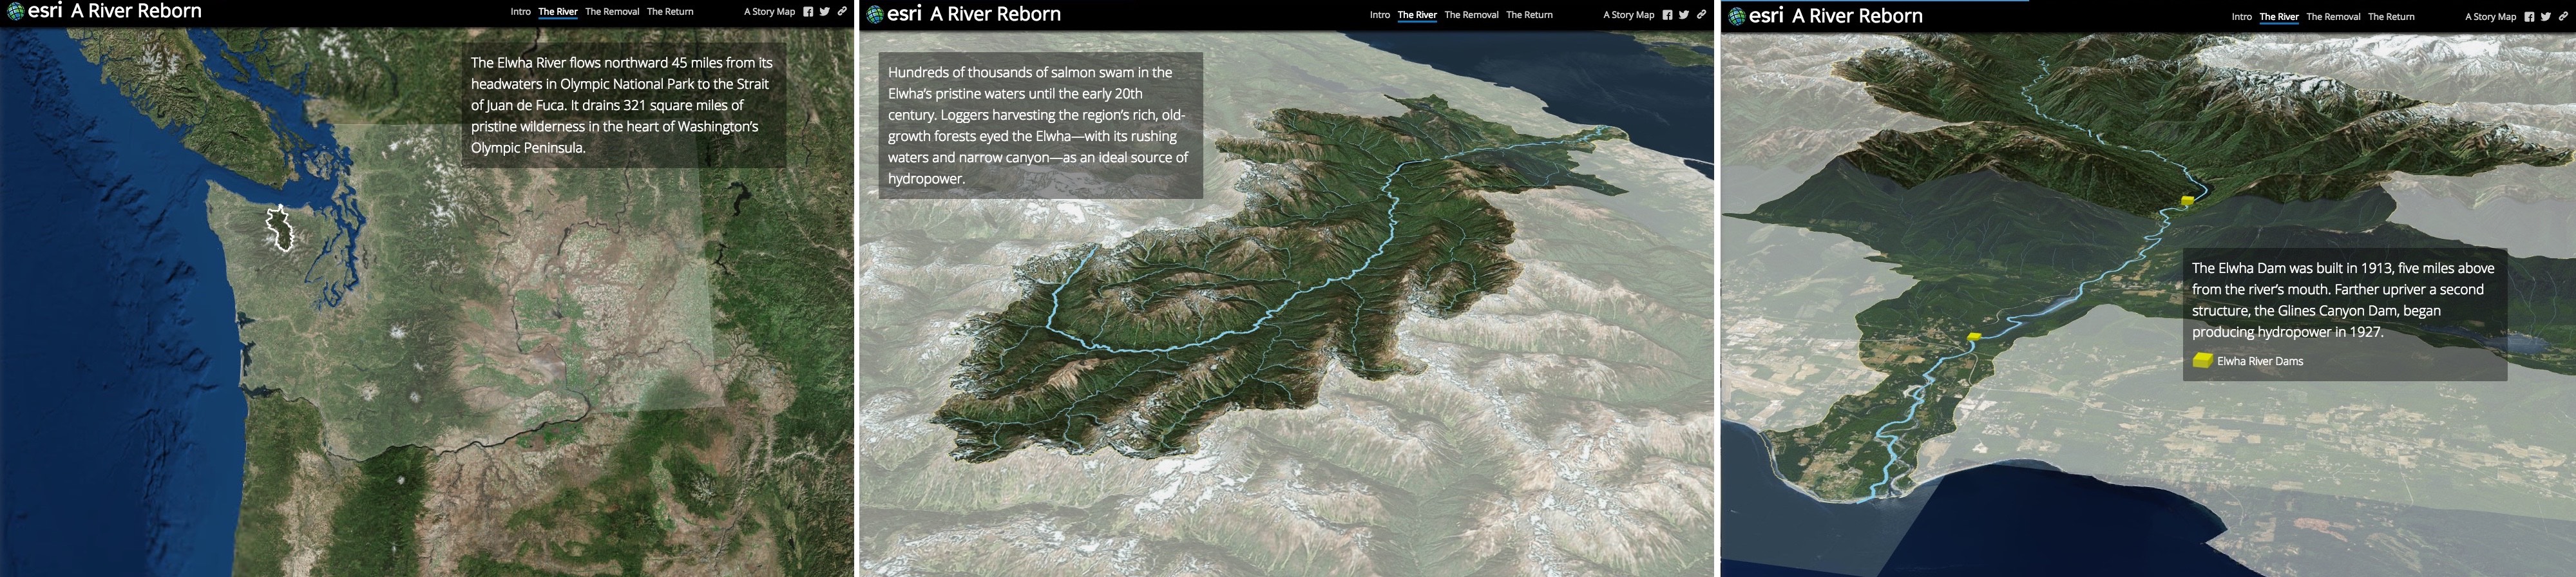
For example, open the River Reborn story and scroll through the web scene in its first section. It gives the reader geographic context for the story by first showing a view of Washington state and the location of the Elwah River and then showing two perspectives of the river itself, the second of which shows the location of two dams. Imagine what a different experience this would be if the author had just added the scene to the story and asked the readers to navigate the scene and toggle layer visibility on their own.
Configuring Media
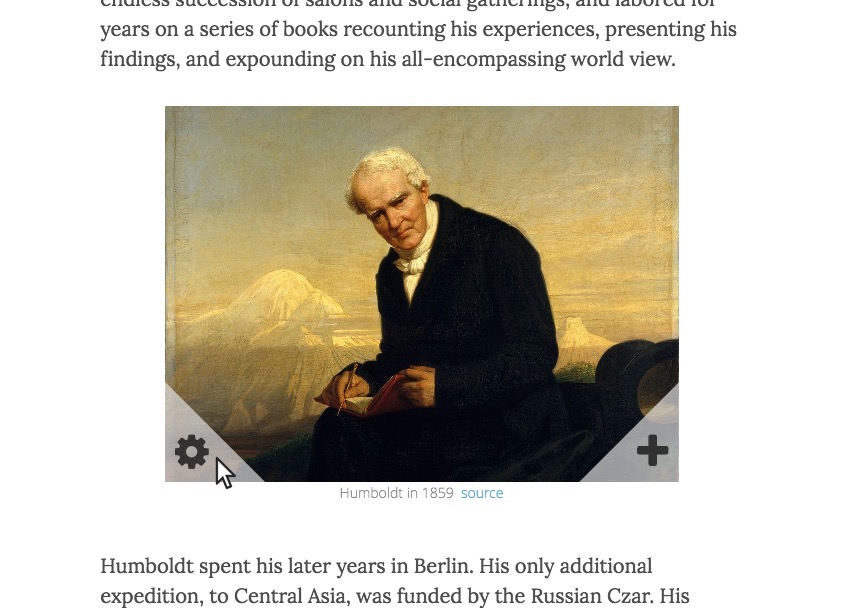
After you add media to your Cascade story using the builder’s Media Picker, click the gear icon in the lower left corner to activate its configuration panel.
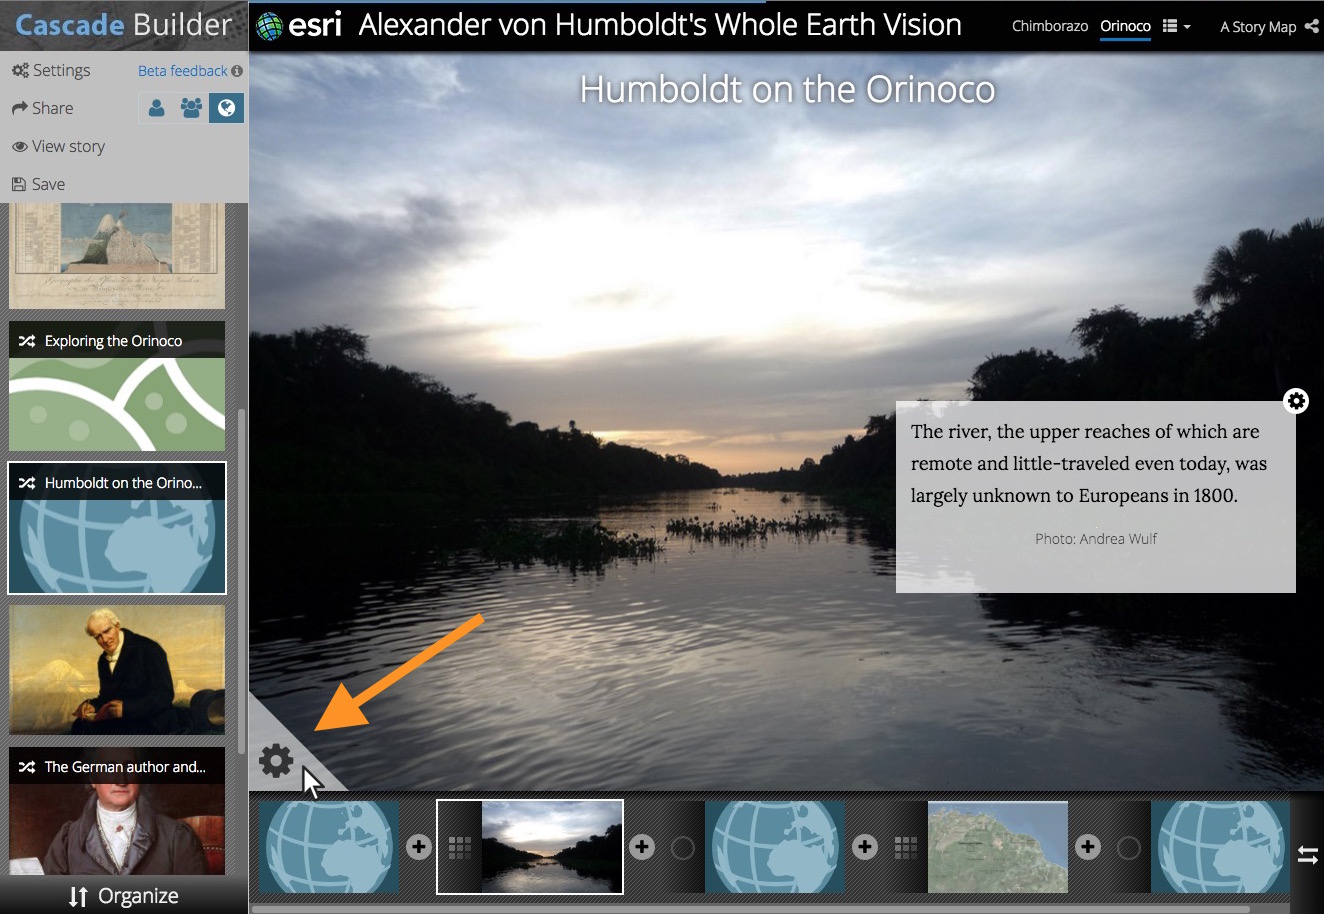
If the media is in a narrative section, hover over the media to see the gear.
The rest of this post will describe the options available on the media configuration panel tabs. Different tabs and options will appear depending on the type of media you are configuring.
Size
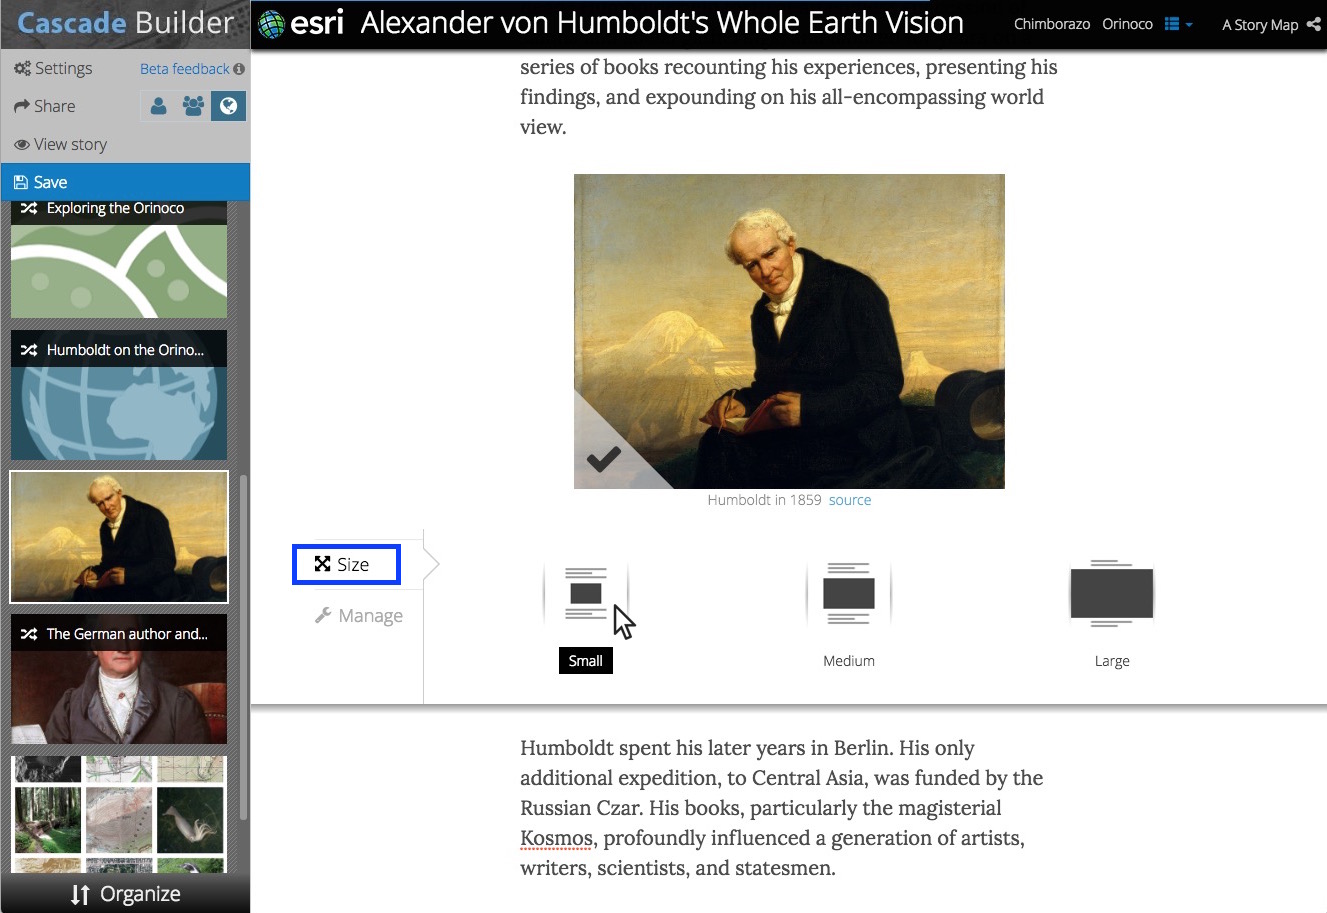
If your media is in a narrative section you can adjust its size. The larger the size the more space you provide for your readers to see or explore the media (you’ll learn more about letting your readers explore later in this post).
- Small works well for simple reference maps, images, and videos and has the least impact on your narrative.
- Medium fills the center of the browser window with your media and works well for more detailed maps, scenes, images, and videos. It strikes a good balance between giving space to the media and the surrounding narrative.
- Large just about fills the entire browser window with the media, but the media still scrolls as part of your narrative section. Large is best when you have striking photos or want to present a full-page map or scene without interrupting the flow your narrative section (that is, without adding an immersive section where the media would lock into place and have a narrative panel scroll over it).
Appearance
In the appearance tab you configure how the media looks and the level of interaction you’ll allow for your readers. The appearance tab may not appear or will have different options depending on the type of media.
View (maps)
There are three aspects of a map’s view that you can configure: the location, the layers, and whether a pop-up visible.
Any changes you make to the map in the configuration panel will be saved when you click the checkmark to close the panel.:
- To choose which layers are shown, toggle their visibility in the layer list.
- To show a different location or change the scale of the map, pan and zoom to the area you want your readers to see.
- To highlight a feature in your map, click it to show its pop-up. The pop-up will be open when your readers first see the map.
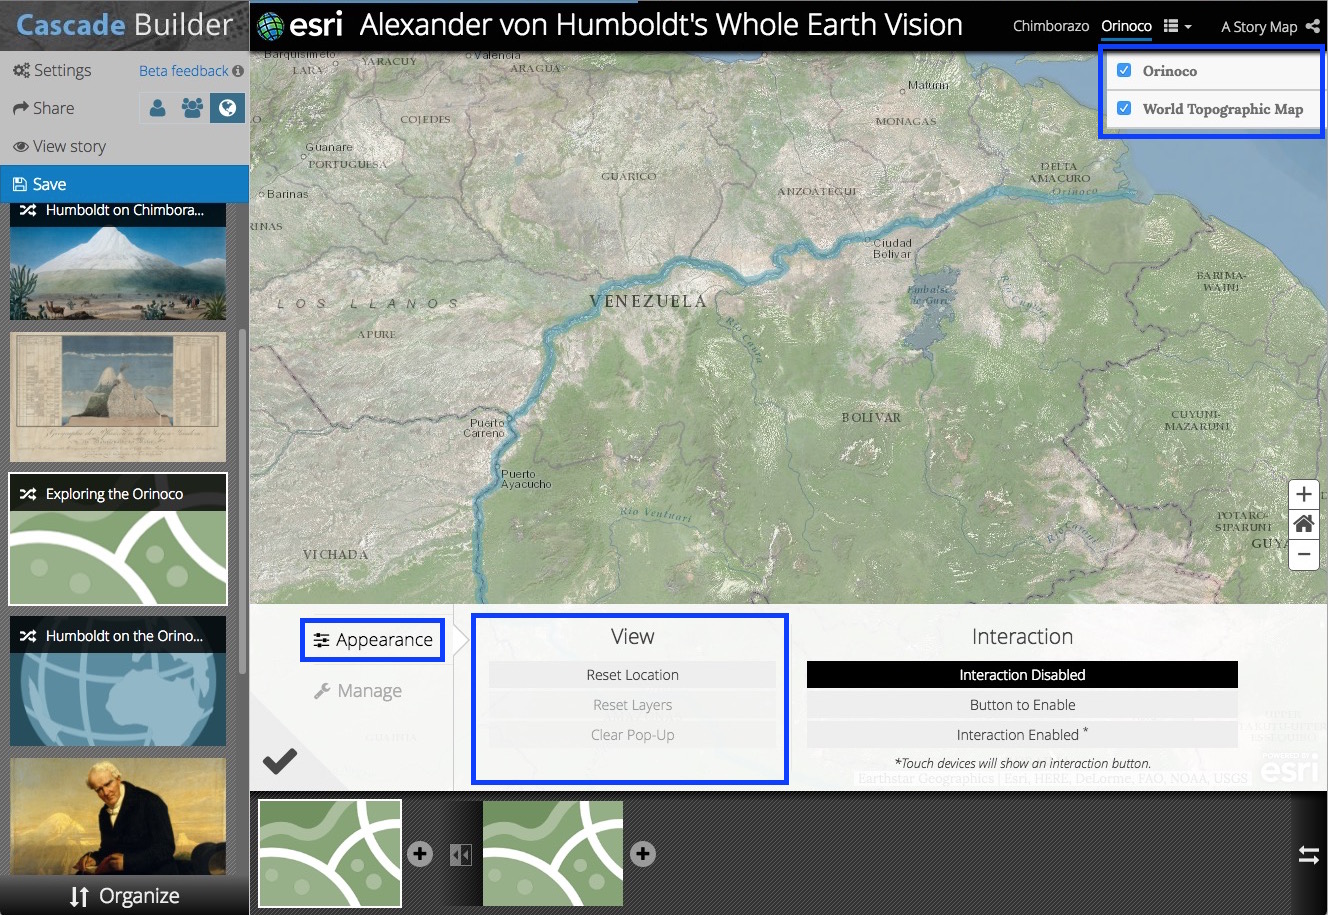
If you need to start over, click Reset Location or Reset Layers to go back to the saved state of your web map. Click Clear Pop-up to close the pop-up.
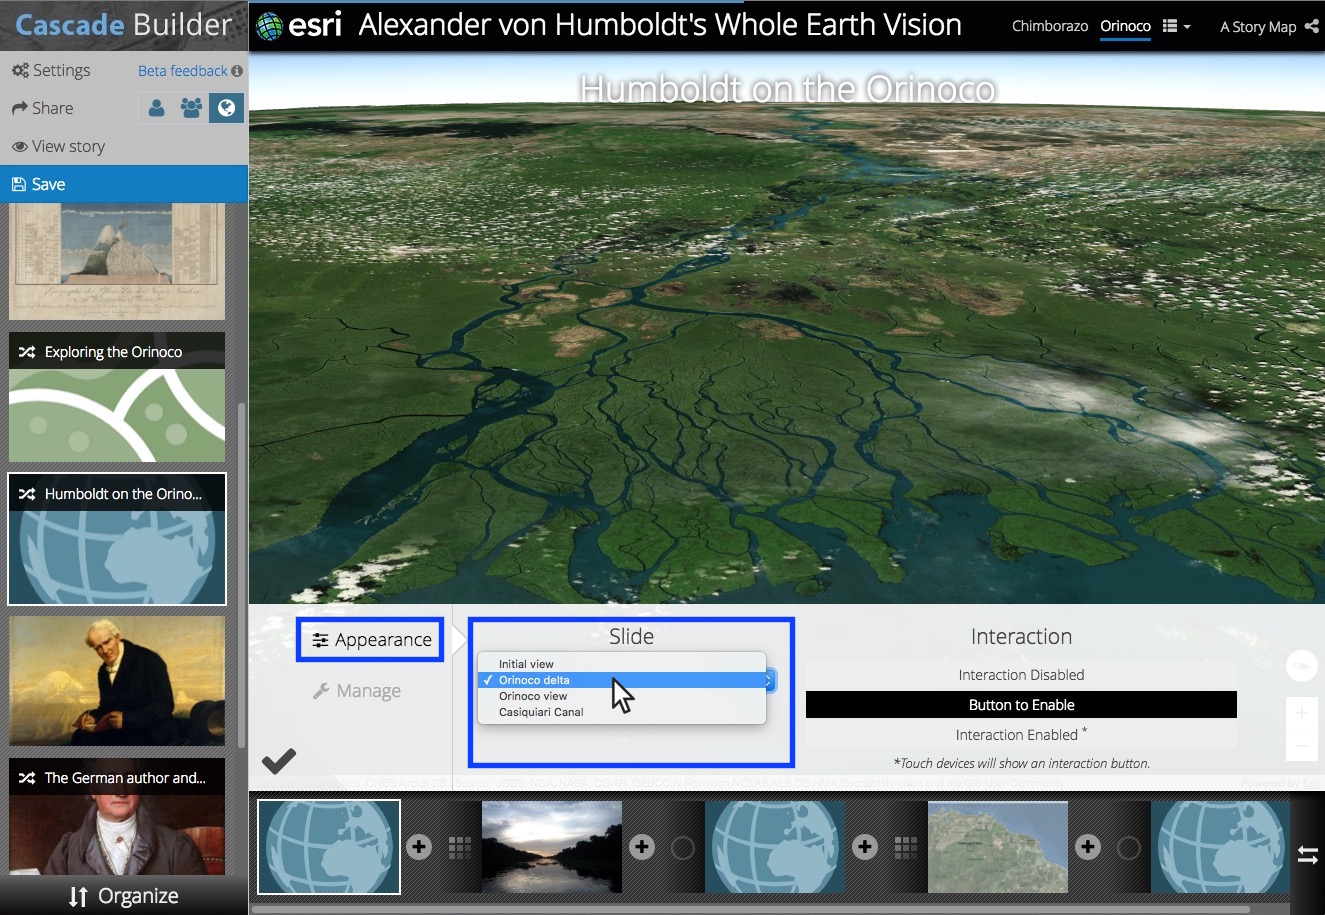
Slide (scenes)
When you add a scene you can select which slide is shown. Slides capture a 3D perspective, a set of visible layers, and other visual aspects of your scene. Pick a slide from the list to show that perspective and set of layers at the current point in your story.
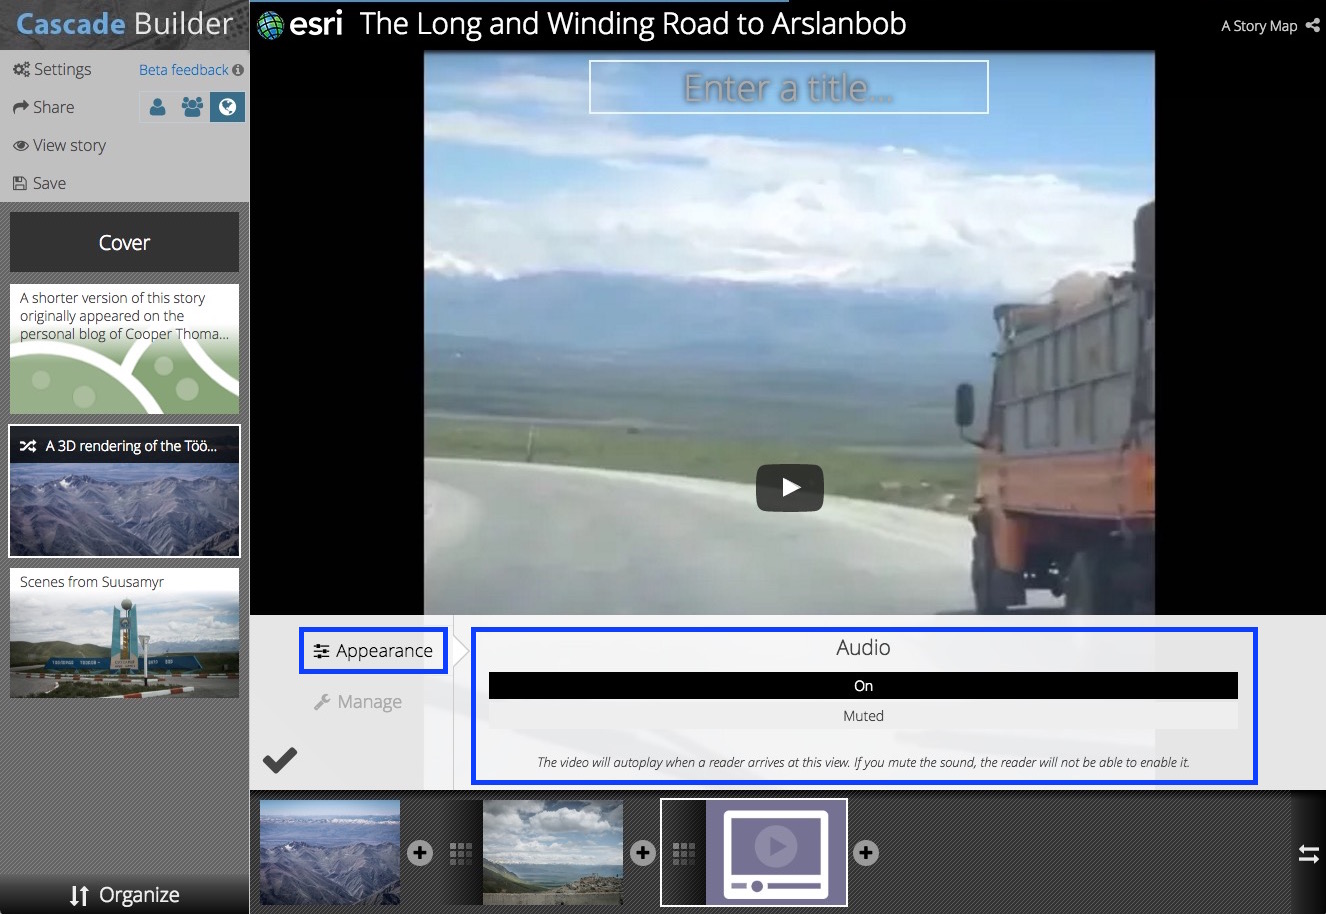
Audio (videos in immersive sections)
For videos in immersive sections you have a choice if you want audio enabled for your readers or not. If you mute the audio readers will not be able to enable it.
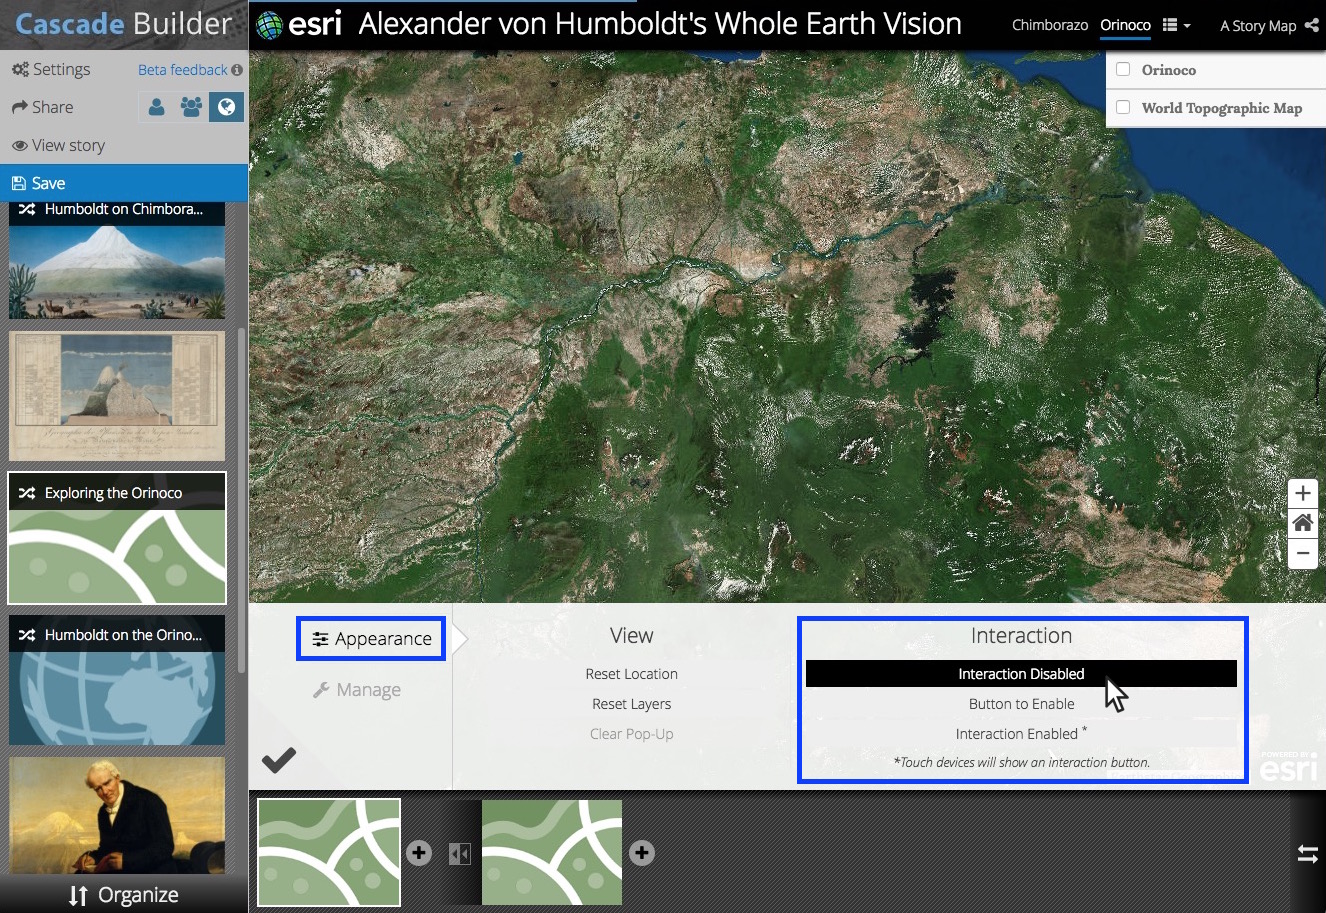
Interaction (maps, scenes, web apps, and web pages)
Depending on the media item’s role in the story you may or may not want your readers to interact with it. The best stories usually present readers with what they need to understand the narrative and let them explore in directed or limited ways.
The three options for interaction are:
- Interaction Disabled – Readers cannot scroll, pan/zoom, or click for more information.
- Button to enable – Media is locked, but an interested reader can click a button to enable interaction.
- Interaction Enabled – Readers can interact with the media immediately. If this option is active readers viewing the story on a touch device like an iPad will see a button to enable interaction.
Here’s what the interaction button looks like when it’s enabled for a map or scene.
Regardless of which option is selected you can always interact with the media when the configuration panel is open. If you click the checkmark to close the panel the selected option will become active.
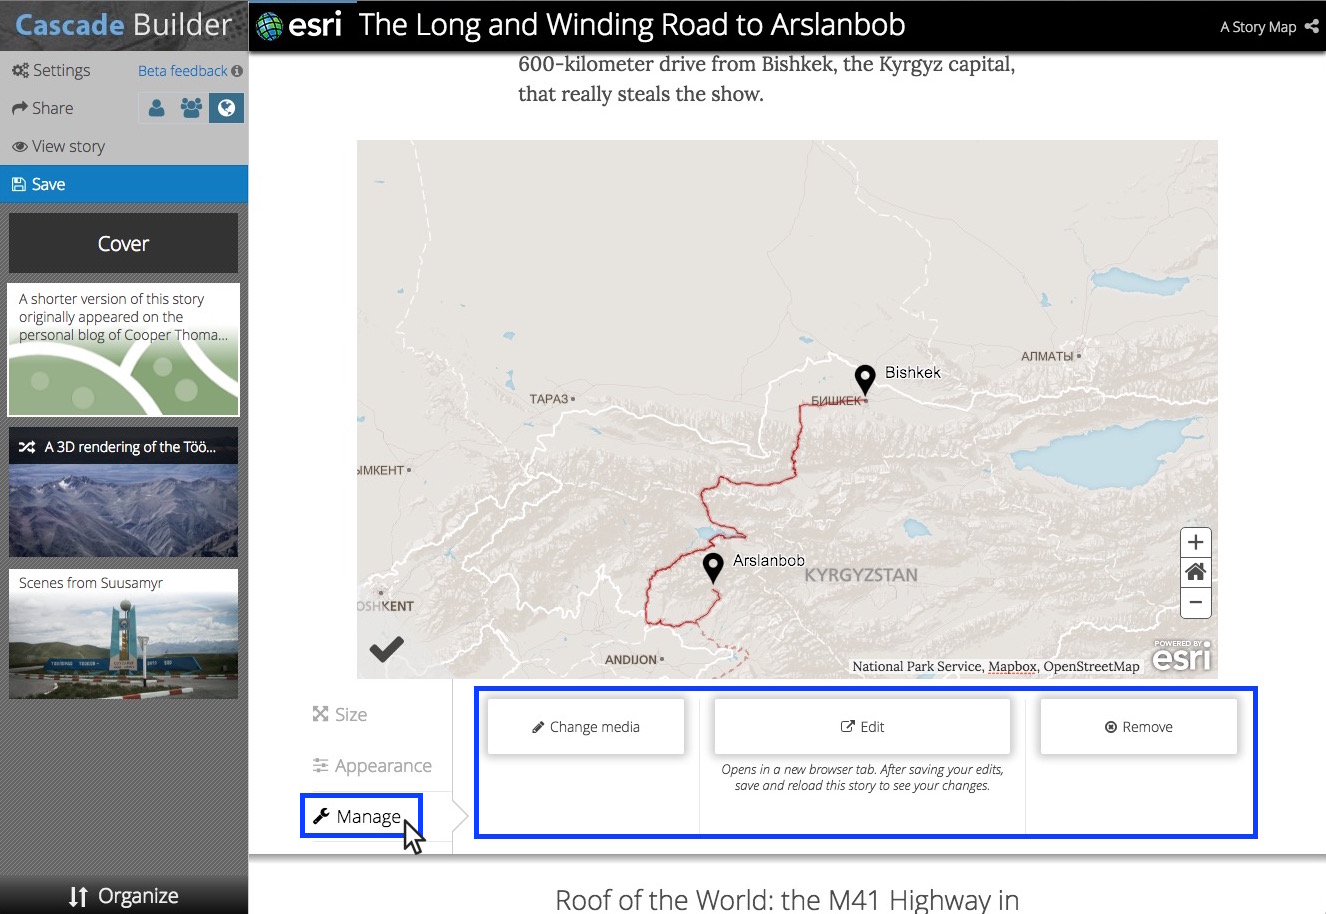
Manage
The last tab of the configuration panel helps you manage your media item. Use the Change Media button to swap the current item for something else; for example, you could pick a different map, change a map to a scene, or change a scene to an image. If the media is in a narrative section you can Remove it from the story. (If you need to remove media in an immersive section just delete the view.)
If you need to make changes to your geographic content use the Edit button to open the map or scene in the arcgis.com viewer. Since the location and visible layers can be adjusted in the builder, you only need to edit an item to make changes like adding a new layer or adjusting layer styling, changing the basemap, modifying pop-ups, or adding new slides to a scene.


Article Discussion: