This post was published in June 2016 and updated in December 2016. Narrative sections were previously known as sequential sections.
This is the first in a series of posts on using the Story Map Cascade builder. In this installment you’ll learn the basics of creating narrative sections. This introduction to Cascade provides helpful context for this post, so consider reviewing it before reading on.
Styling Paragraphs and Formatting Text
If you scroll down from the cover of your Cascade story you’ll see a narrative section has already been added as the first section of your story. Just click where it says “Your Cascade story starts here” and start typing.
You’ll see a small, round button appear in the left margin next to the paragraph where you are typing. Click this formatting button to change the style of the entire paragraph. You can change the standard paragraph text to two styles of heading or a quote. To go back to paragraph text from one of these styles, click the active format button to toggle the style off. You can also adjust the alignment regardless of what style you have chosen.

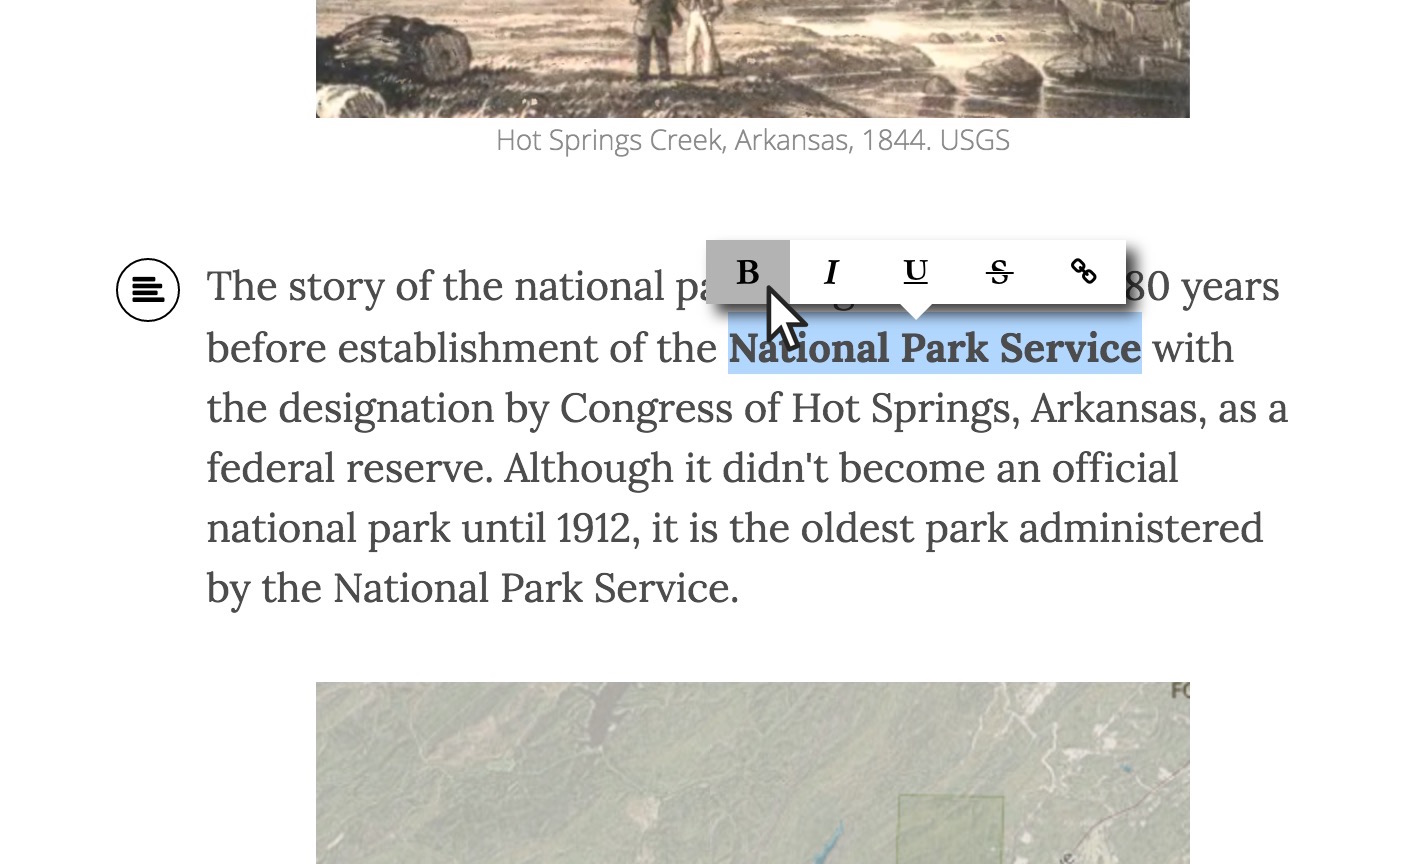
To format specific words, highlight them and choose a style from the pop-up menu (bold for example). The pop-up menu also has a tool for creating hyperlinks. To remove a hyperlink that you’ve already created, highlight the link text and click the link icon in the toolbar.
Inserting Media
Media refers to any image, video, map, scene, web page, or other embeddable content that you add to your story. To insert media in a narrative section, hover over the space between two paragraphs to make the insertion line appear.
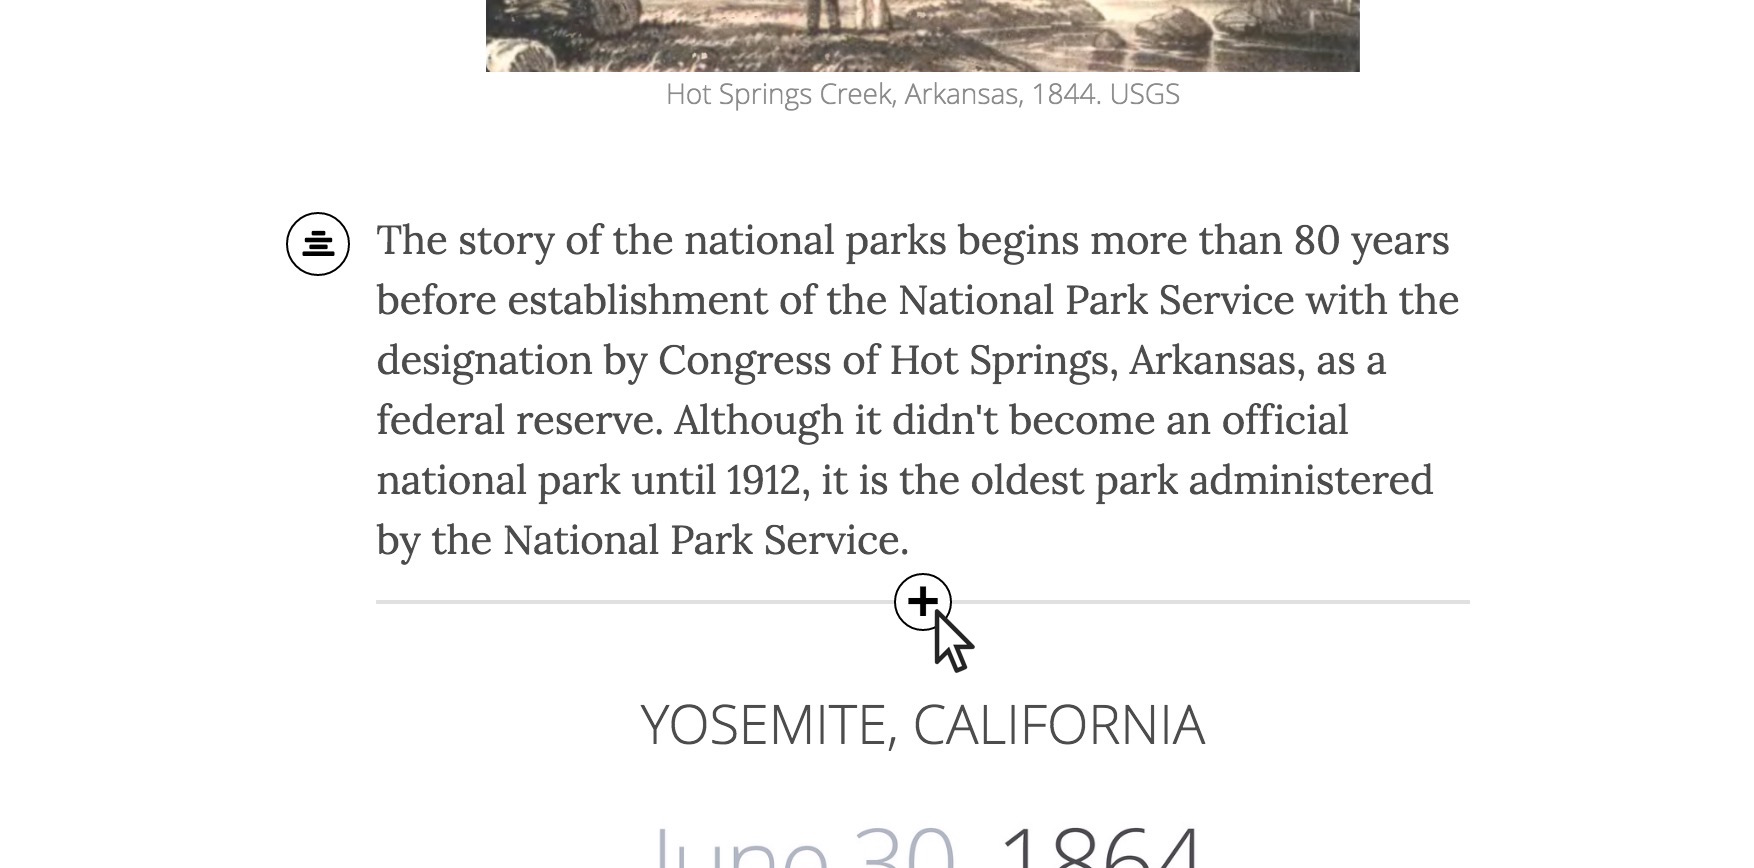
Click the (+) then choose Media.
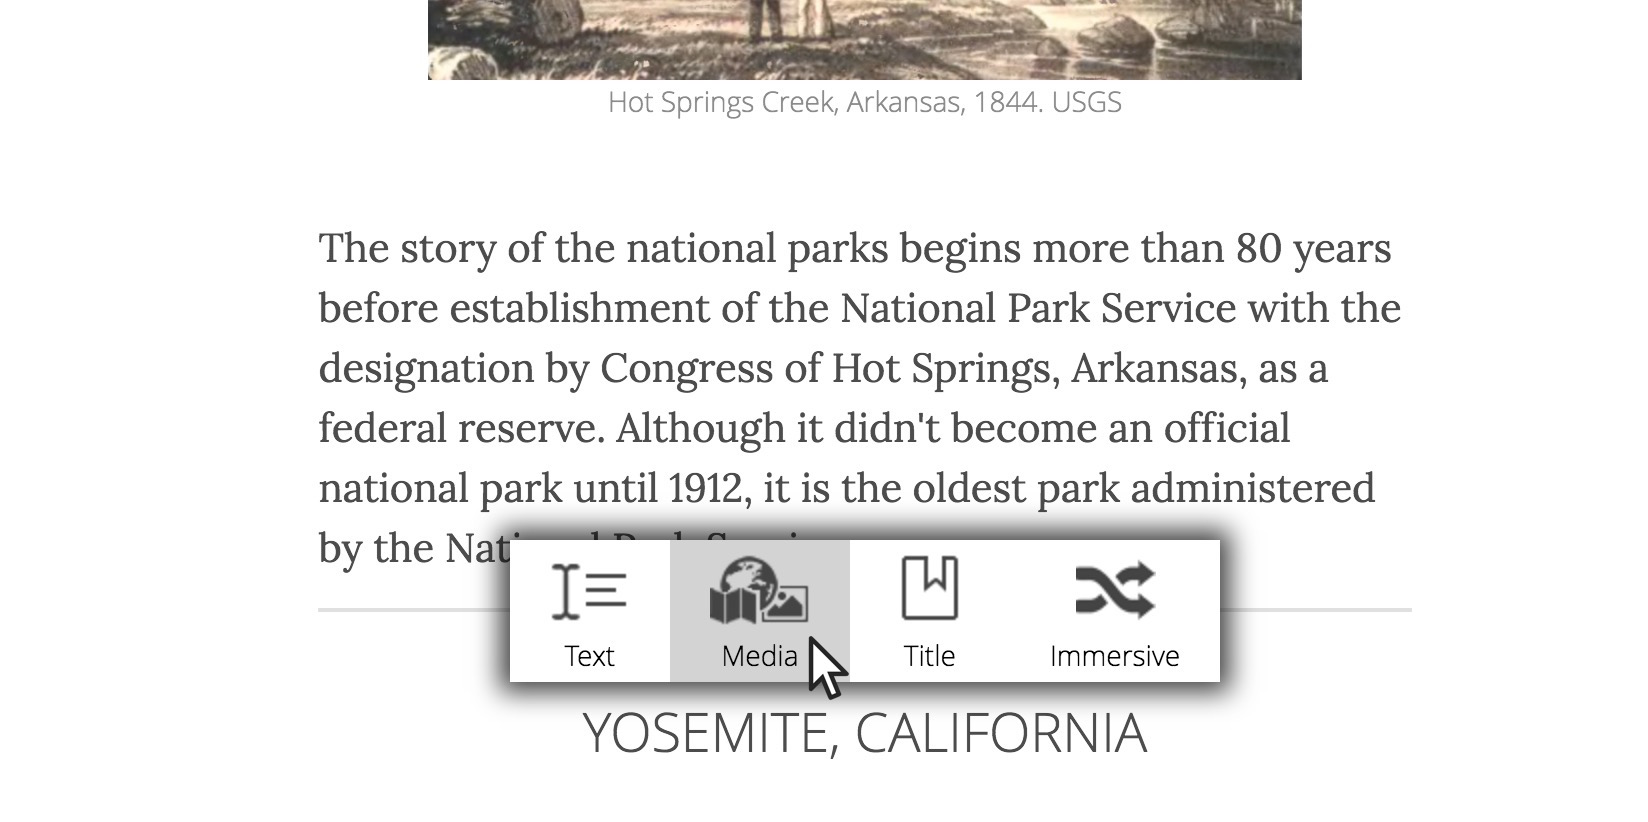
This will open the Media Picker and you can choose which item you’d like to insert into your story. You’ll learn more about the Media Picker in the next blog post in this series.
Cascade Builder Tip: If you’ve inserted two media items next to each other you can add a paragraph between them by hovering over the space between the media items, clicking the (+), and choosing Text.
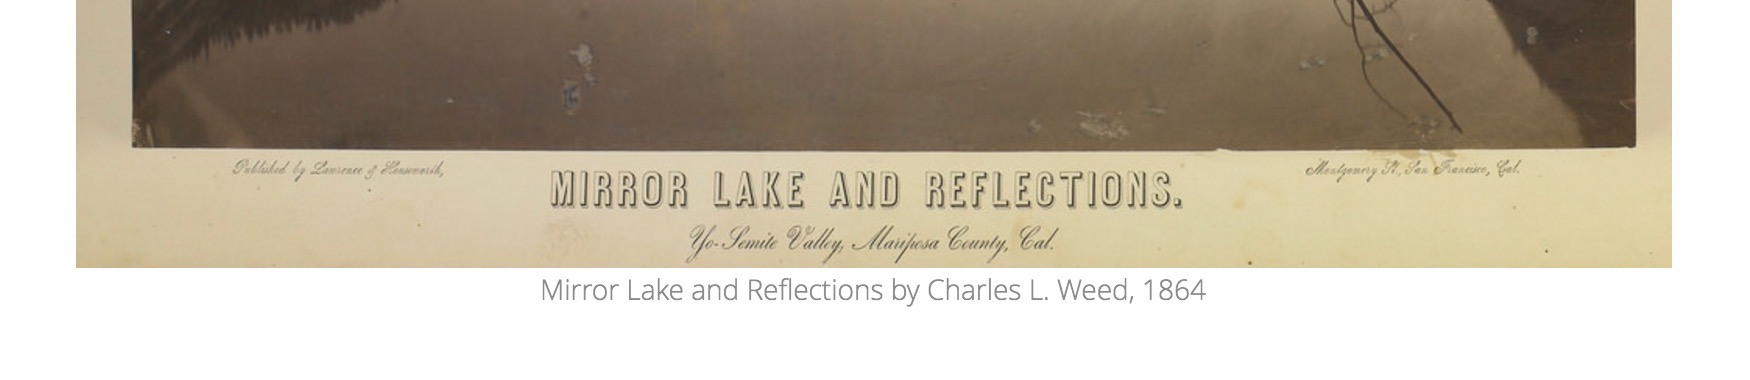
Each media item can have a caption. Captions are a great place to include a citation for a photo or map data. Click on the placeholder and start typing to add a caption. If you don’t add a caption the placeholder text won’t be shown in your story when others view it.
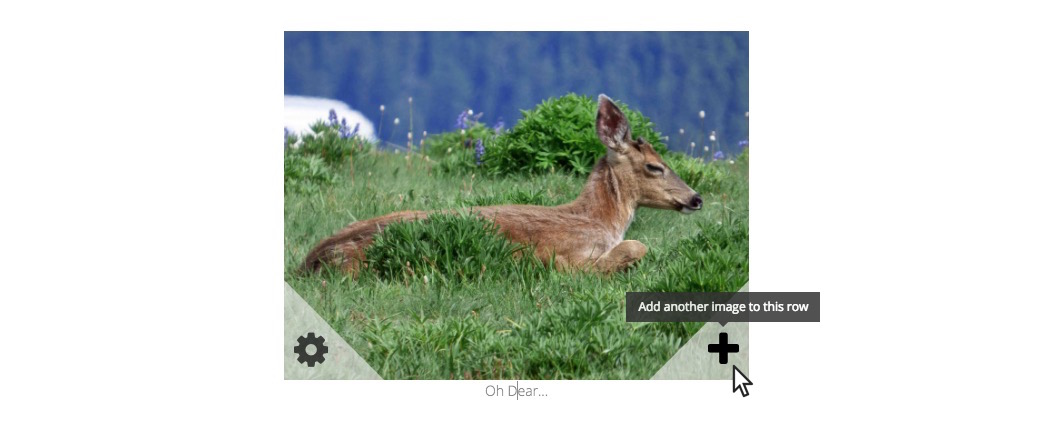
You can place several images in a row. Hover over an image and click the + in the lower right corner to add a second image.
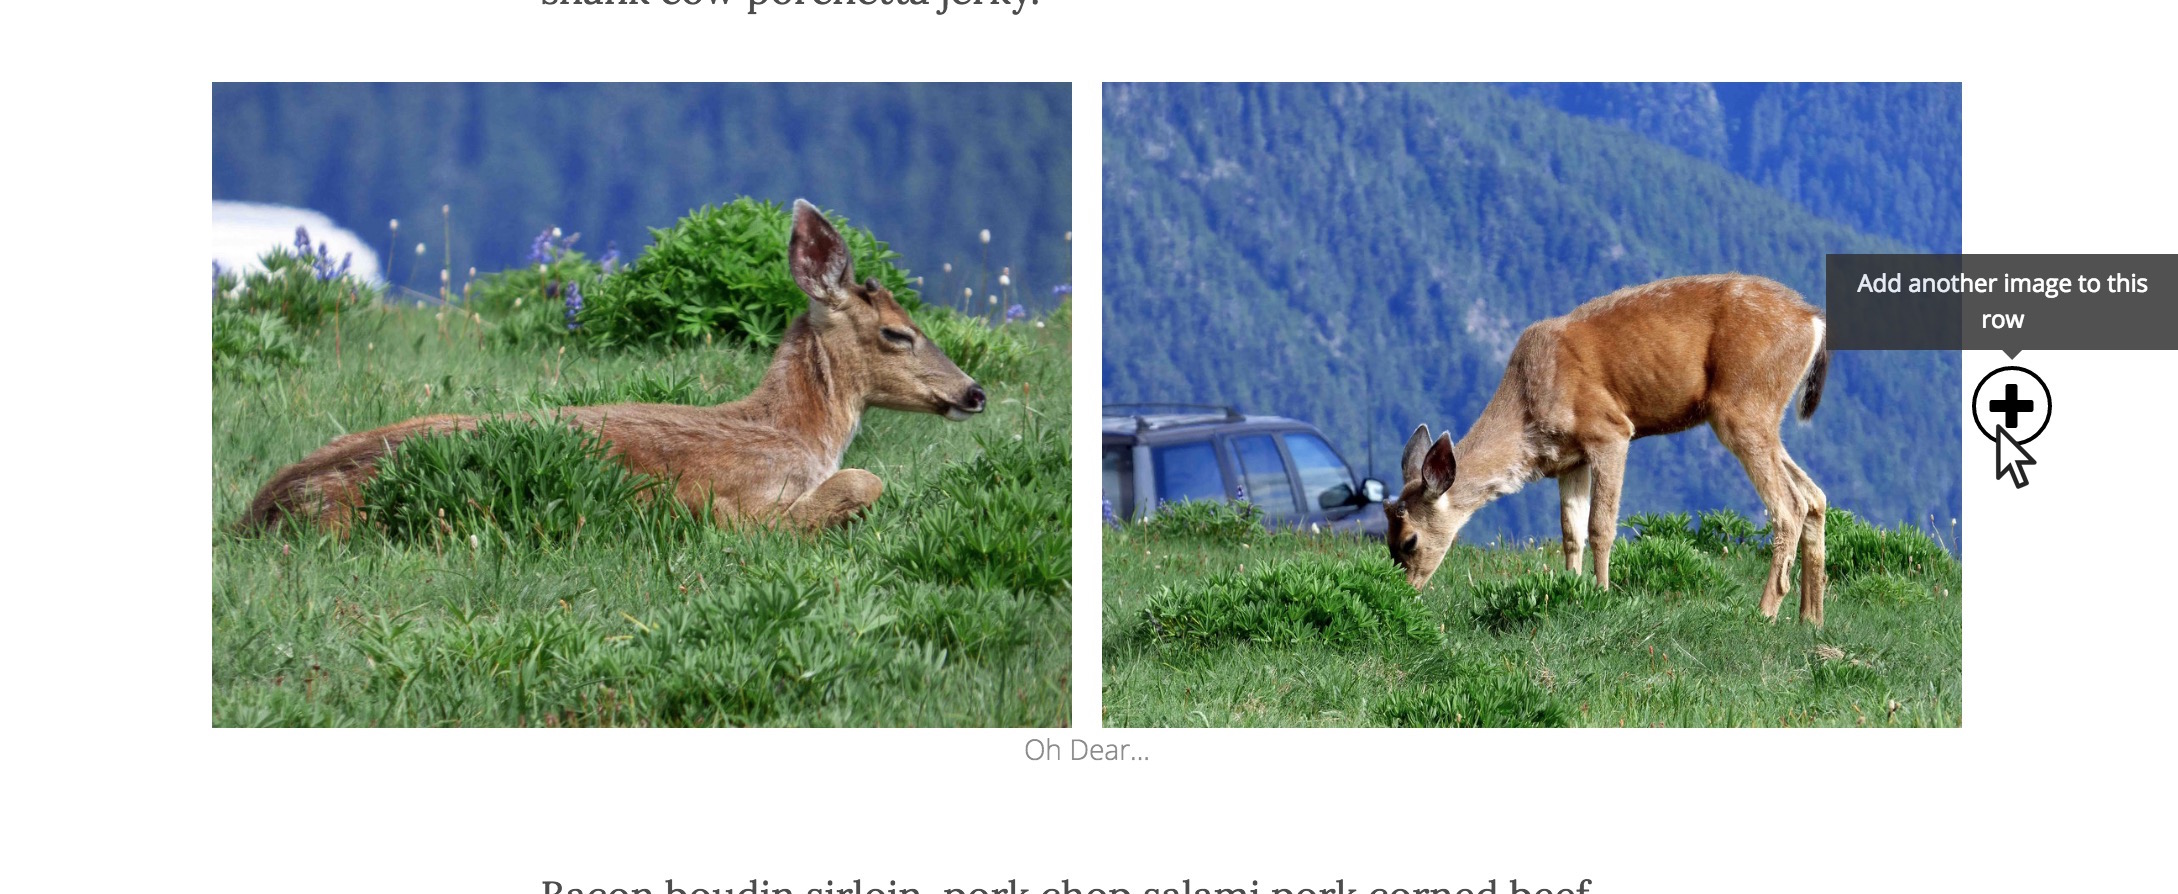
To add more images in the row click the circular (+) to the right of the row of images. You can add up to four images in a row.
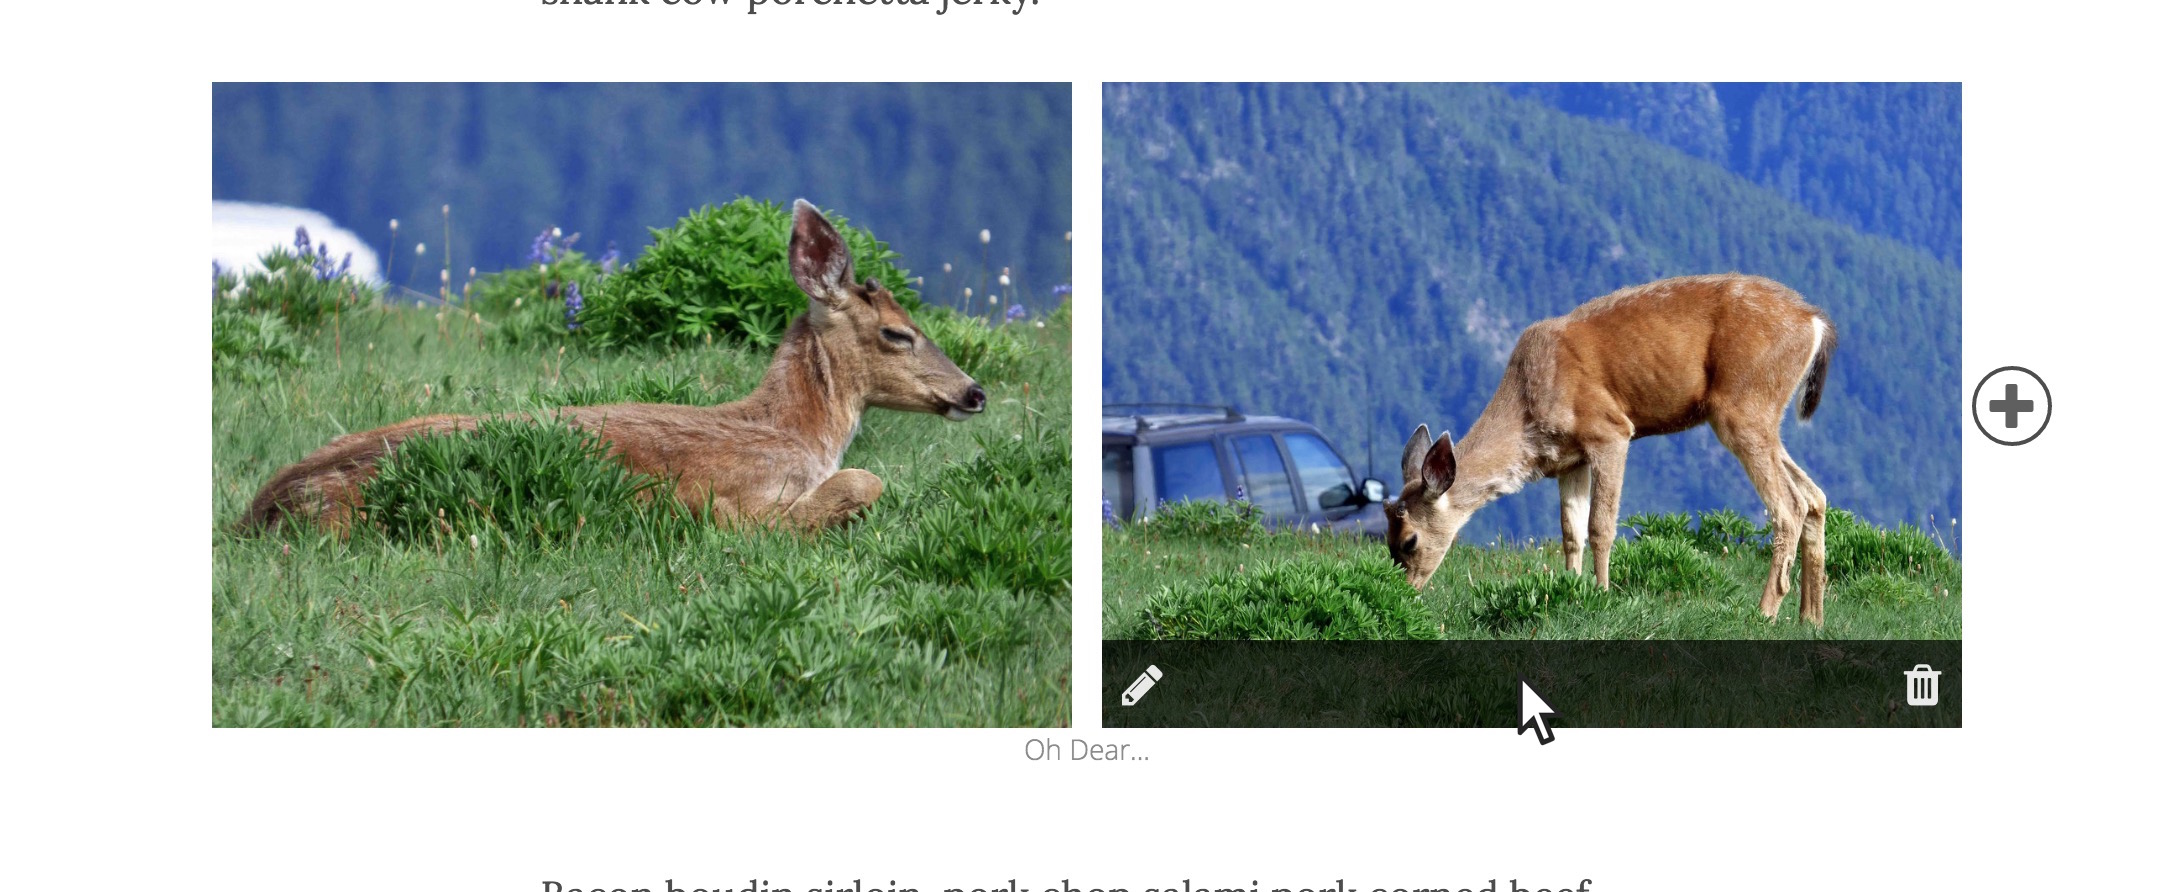
Once you have multiple images in a row hover over any image to remove it from the row or swap it for another one.
That’s it! Now you know everything you need to know about authoring narrative sections in a Cascade story. In the next post you’ll get a walk-through of the Media Picker to learn how to search and browse for content to add to your story.

Article Discussion: