The Basic Viewer template, available in the ArcGIS Online template gallery, is a simple way to create an application that offers the following functionality:
- Search for locations and features
- Edit features and attributes
- Measure distance and area
- Easily navigate to pre-defined locations
- And much more
Explore the gallery of configured Basic Viewer apps to see a few different options for creating an app based on this template then read-through the blog post to learn how to configure the template to suit your needs.
[iframe src=”http://webapps.maps.arcgis.com/home/webmap/embedGallery.html?displayapps=true&displayinline=true&group=8a069d88919e45c98fa09b0dea94c05e” width=”750″ height=”238″]
To get started with the template select the Create > Template option from the ArcGIS Online My Content page and select the Basic Viewer template from the gallery. After defining a title, description and tags select a web map to use in the application.
Note that the some functionality in the app will only be available for certain web maps. For example to enable the edit capability the web map will need to contain one or more editable feature layers.
Configure Template
After selecting a map use the configuration panel tools to modify the app to suit your needs. You can choose a custom title and description, enable/disable tools and pick a custom color scheme. Let’s look at some of the configuration options in more detail.
App details
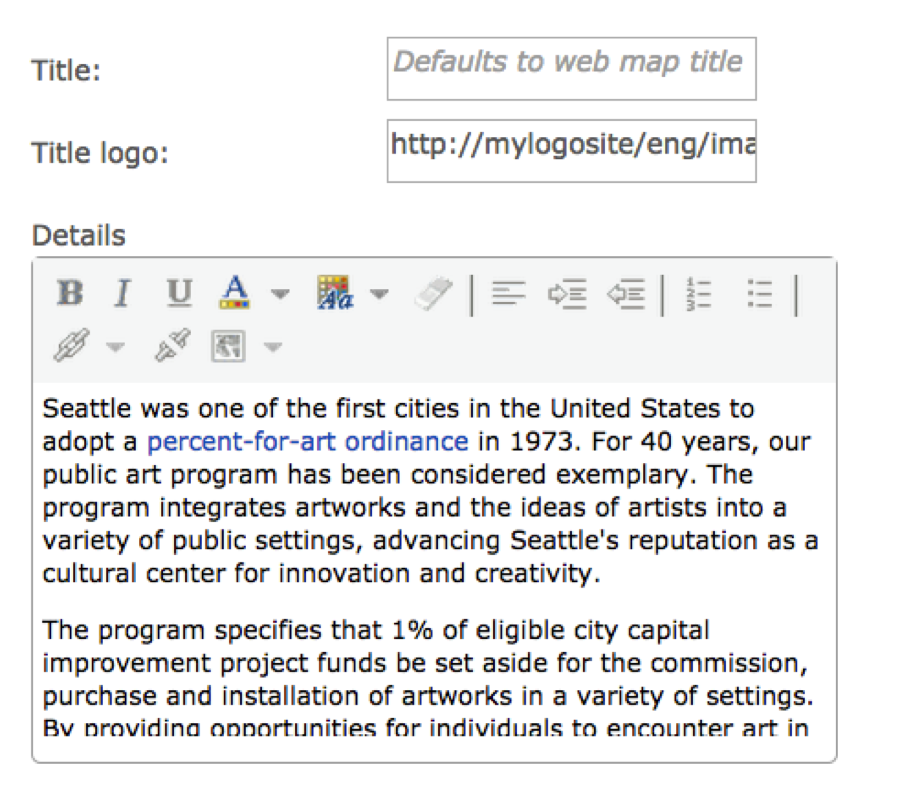
By default the application displays the Web map title and no logo. You can use the title and logo options to specify a custom title and add a logo to the left of the title in the header area.
Edit the Details section to provide detailed information about your app or perhaps instructions on how to perform a task using the app tools. The available formatting tools let you modify the text and background color, define bullets, justify text, create links and add images.
If you want to make this the active panel that displays when the app first loads scroll down to the Tools section and set Details as the active tool.
Color Scheme
The configuration panel’s color pickers let you define a color scheme for the application. Use this to customize the app to match your organizations color scheme or to fit in with the colors used by an existing site. You can change the background color for the title bar and popup windows, set the text color and select either white or black icons.
Select the new colors from a gallery of colors or specify the hex value for the color of your choice. If you aren’t familiar with hex colors use a site like color-hex to find the hex value for a color by entering the color name, RGB or HSV value.
Custom Tools and Settings
The Tools section lets you specify which functionality your app will contain. In general it’s a good idea to present a simple focused app to your end users. So before enabling a tool think about the functionality it provides to determine if that capability is truly essential to your app.
In this example I’m creating a simple app that highlights locations of public art in the City of Seattle. I want to make it easy for people to see where the public art is in Seattle, find art near them if they are in the city and share that information with others. So I’ve disabled all of the tools except the locate button, share tools, details and search.
To make the search more effective I’ve enabled the ‘Prioritize search results in current extent’ option so that only search results within the map extent are located. That way if someone types in San Francisco the displayed suggestions are for streets and other locations within the Seattle area instead of returning the suggestion of the city of San Francisco. To test this enter an address in Seattle into the test app to find nearby public art.
[iframe src=”http://webapps.maps.arcgis.com/apps/Viewer/index.html?appid=84d2e5dc0db44805822e3b5add6bc150″ width=”600″ height=”650″]
Article Discussion: