One of the new capabilities introduced with the December 2012 ArcGIS Online update was the ability to set a custom background for your organization’s home site. This provides flexibility in tailoring your organization’s home page look and feel. Here’s a few tips and ideas for getting effective and professional looking results.
Choosing a new background
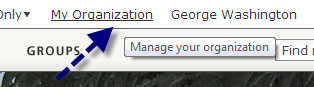
As an adminstrator, click My Organization at the top of the page.
Then click Edit settings. Under the Home Page settings you’ll find the Background Image, and you’ll see the default “blue wave” image is selected.
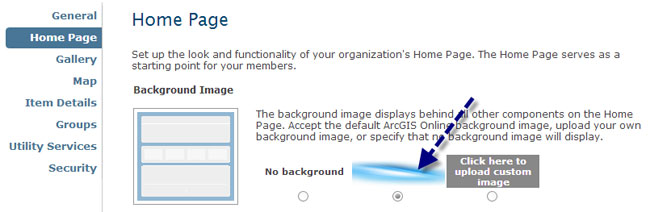
You can use the default, select no background, or choose to upload a custom image as your Home page background.
Using custom images
When using custom images the first thing to keep in mind is that less is often more when it comes to creating a pleasing and professional home page. Going overboard can easily yield spectacularly disagreeable results. If you do have a graphics professional in your organization, this is a good time to use their skills and judgement.
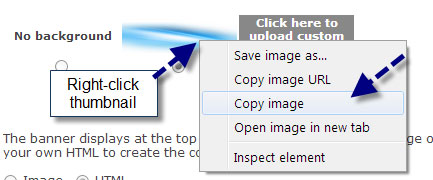
Click the upload custom image option if you want to use a custom image of your choice instead of the default. If you’re interested keeping the design of the blue wave, but want to change the color, you can grab the existing image and tweak it. Using Chrome (options will be different in other browsers) right-click the image, and chose Copy image.
The image is 1920 pixels by 720 pixels – a good size to consider when using custom background images since this will be large enough in the x direction that the seams at the image boundaries (discussed later in this post) won’t appear.
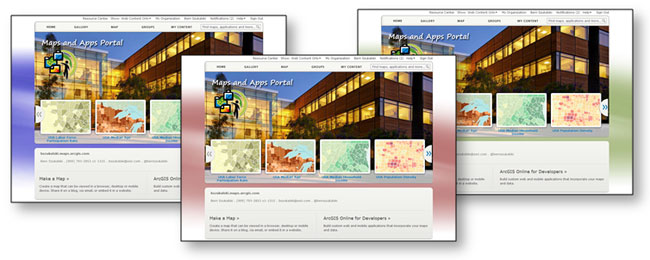
After copying the image, paste it into an image editing app (like Paint, Photoshop, or similar) and tweak the color as desired. Save it out for the web, with reduced size and resolution for best performance. Below we’ve changed the default blue wave image, using several color variations.
Size matters
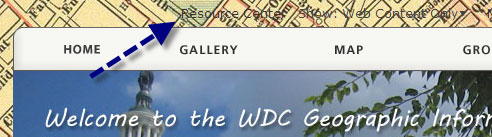
If you stretch out your organization home page you’ll see that the default background image is centered along the top and center of the page, and extends out beyond what can normally be seen on standard resolution displays. Beyond that extent the image repeats. The screen capture below, showing the edges of the background image indicated with blue arrows, was made by stretching our home page across two monitors.

When adding a custom background try to hide the edges. To do this, just make the image larger than the largest display you’ll typically encounter. We recommend a width of 1920 pixels, the size of the default blue wave image is 1920 x 720.
Another good technique is to fade the edges of your image on all sides to white or transparent, eliminating the visible seams as the image is duplicated and making the left-to-right and top-to-bottom transitions smooth. Avoiding sharp edge transitions will keep the overall look of your home page pleasing and professional.
Keep in mind that there is text at the top of the home page, and keeping a white border along the top helps keep it readable. Below is an example where the text is obscured by a background image that doesn’t include a little white space along the top. Can you read the text pointed to by the arrow?
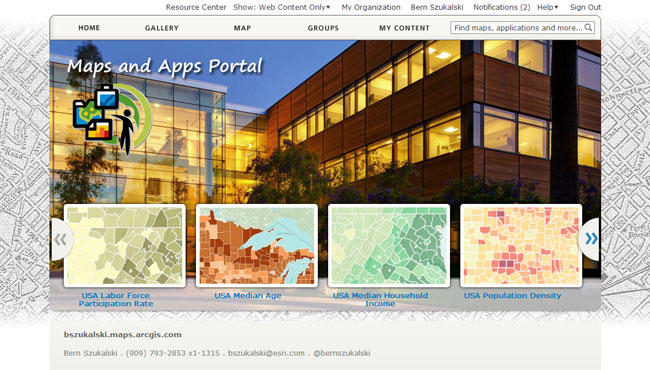
Below we kept our image on the austere side, providing some white space at the top and sizing it to provide a transition from our main graphic to the body text.
Which looks best? That’s a matter of preference, but the default background or a simple variation of its color might still be your best choice. I ended up going back to a simple variation on the default “blue wave” as my top choice.
Summary and suggestions
- Ask yourself – do I really need to change the background? Is my custom background really better than the default?
- Remember the appearance of your home page is a reflection on your organization.
- As a shortcut you can leverage the existing “blue wave” graphic and just alter the colors to match your theme.
- Avoid seams and repeating images.
- Keep some white transitional space at the top and bottom.
- Remember that less is more.
For more information see Configuring the home page.

Commenting is not enabled for this article.