By Wes Jones, Esri Design Cartographer
In my last blog entry I wrote about how to achieve a particular waterway look that you might find on a historical map. In this entry, I want to show you how you can make your map look like it has a torn parchment edge.
Inevitably old paper maps become torn… or at least we like to think so. Therefore, having a map look a bit torn is a nice way to imply its agedness.
Step one: Create the torn parchment effect
Create a rectangle showing what the paper that the map is printed on would look like in an undamaged condition. You will use this to create a modified page with torn edges. You can simply create a new rectangle in an edit session (make it the size you want the parchment to be). You will use this as a guide to create a modified page with torn edges.
Next, in an edit session using the Polygon tool on the Feature Construction Toolbar, trace the rectangle you just created. You want to make sure the snapping is on so that you are keeping the general shape of the rectangle. Then draw tears where you feel like it (as shown below). You do not need too many to achieve an old look. Save your edits.
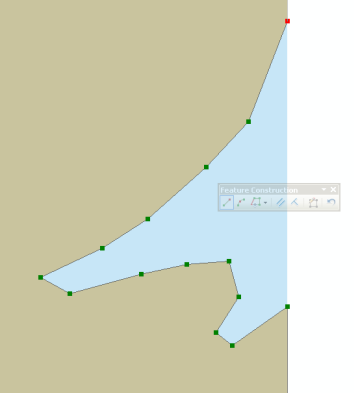
Figure 1: This is an example of how you would draw the tear near the upper right hand corner of the parchment feature I show in this blog entry.
Now, in the Table of Contents, right click the data frame and click properties. On the Data Frame tab under Clip Options, select the Clip to Shape option from the drop down menu. Then click the Specify Shape… button and select the torn rectangle polygon that you just finished editing. This will clip all the data in the data frame to that torn polygon shape.
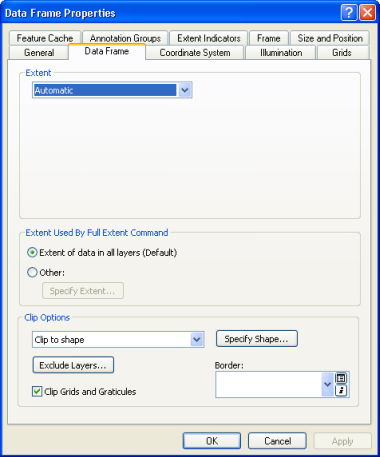
Figure 2: The Data Frame tab with the Clip to Shape option
Step two: Adding more dimensionality to the parchment using a vignette along the edges
To add a little more apparent dimensionality to the paper edge you can create and symbolize a buffer at the edge of the torn parchment polygon. Buffer the inside of the polygon using the Buffer Wizard tool (the step-by-step instructions are outlined in the blog entry titled Symbolizing Shorelines). Once the buffers are created, you can symbolize them using a color ramp so that the darkest browns are along the outside of the polygon giving the impression that the parchment is curling a bit at the edge.
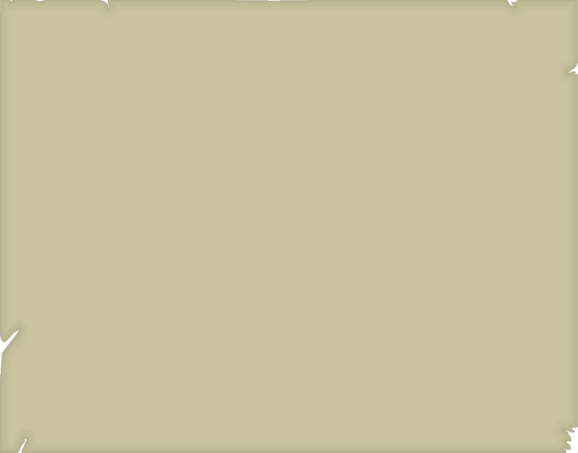
Figure 3: The parchment with torn edges and a buffer vignette along the edges
Step three: Adding creases to the parchment
Additionally, you can add crease lines and texture to the parchment.
To add crease lines, first convert the torn parchment polygon to line features using the Feature to Line tool.
Next, in an edit session, draw two vertical lines in the parchment (these represent the folds). Start the lines at the top of the parchment polygon (making sure you have snapped to the edge of the parchment polygon) and then right click or press Control + A to access the Direction dialog box. Here type in a value of 270. This will ensure that the line is drawn straight down the page. Draw the line so that it goes to the bottom of the parchment.
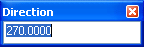
Figure 4: The Direction dialog box
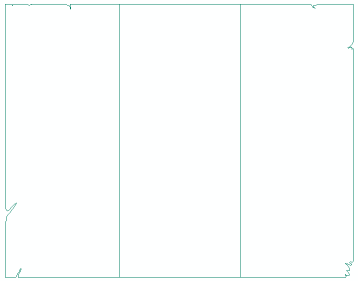
Figure 5: The crease lines
Now buffer the lines with the Multiple Ring Buffer tool. I wanted the buffer to have more intensity closer to the edge so I typed in these buffer distances (meters): 40,30,25,20,15,13,11,9,7,6,5,4,3,2,1. Don’t worry that the buffer goes beyond the parchment limit, the Clip to Shape option will clip the portions of the buffer that goes beyond the torn parchment polygon edge. Apply a color ramp again making sure that the darkest browns are along the outside edge.
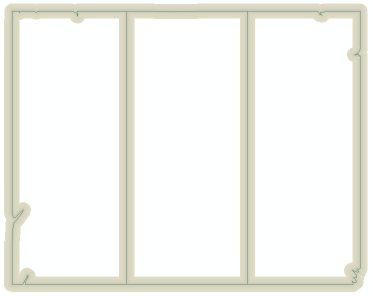
Figure 6: The crease lines and the buffers
Apply a slight transparency to the buffer polygons and place the buffers above the torn parchment paper polygon in the Table of Contents. The result is that you will have what looks like a piece of parchment that has creases in it.
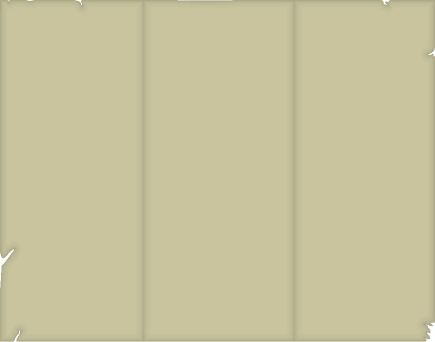
Figure 7: The torn parchment with creases
Step four: Adding texture to the parchment
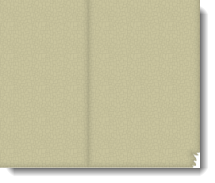
One last effect you could do is to give the parchment a little texture. In the Table of Contents make a copy of the parchment. On this copy instead of using a brown fill find a picture fill (I used the hacshd20.bmp fill). I changed the transparency to 92% so that it became a very subtle texture.
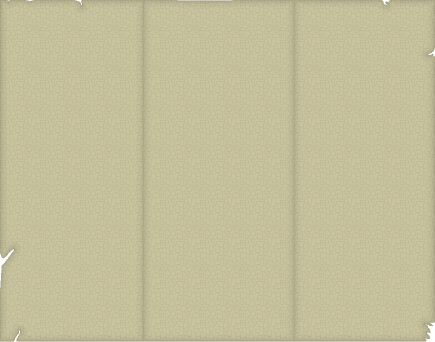
Figure 5. The torn, creased parchment with texture
And voila — you have created the look of an old torn creased piece of parchment for your map!
Thanks to Aileen Buckley, Mapping Center Lead, for her help with this blog entry.

Commenting is not enabled for this article.