Have you ever been scrolling through Twitter and found yourself thinking “hey, that tweet would go great in the Map Journal I’m working on”? If this hasn’t happened, just give it time—it will. And when it does you’ll be able to act on that idea, since you’ll have read this post breaking down the five steps it takes to embed a tweet in your Map Journal’s side panel.
***
Here are the five super simple steps:
-
Copy an iframe code snippet from Twitframe
-
Paste the Twitframe snippet into your Map Journal’s HTML via the source view
-
Replace the tweet URL with the link for your desired tweet
-
Adjust the height and width parameters
-
Hit save
***
Easy, right? If terms like “iframe” and “HTML” seem scary to you, please, fear not. Let’s walk through these steps one at a time so you can see exactly what you need to do.
***
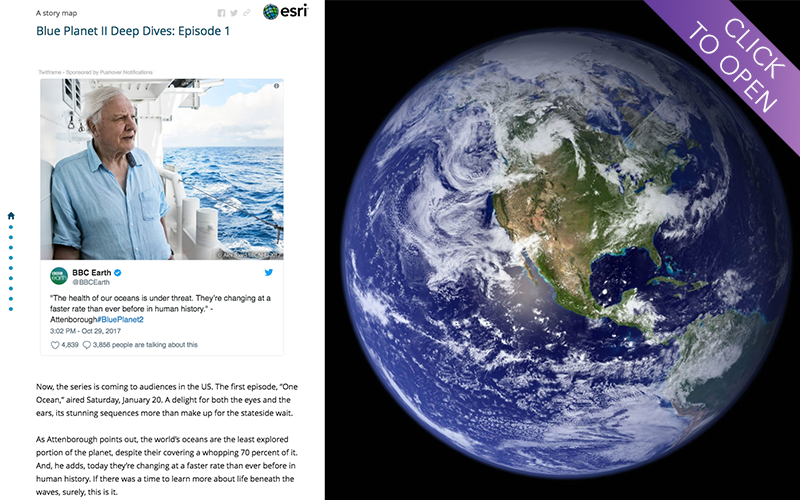
Want to see what this looks like before you try it? Check out these Blue Planet II episode guides from the Story Maps team for lots of embedded Twitter content.
***
1. Copy the iframe snippet
***
The magic behind this trick comes from a tool called Twitframe. Twitter’s standard embed links include script tags, but the Map Journal automatically removes these tags for security reasons. Twitframe overcomes this issue by wrapping each tweet in an iframe—a common, Javascript-free format for embedded content. No idea what that means? No problem. Right now, all you need to know is that Twitframe exists, and it’s about to let you do something cool. So, head on over to twitframe.com and copy that short bit of code at the very top of the page.
***

***
2. Paste the snippet into your Map Journal
***
Now, with the Twitframe code in virtual hand, open up your Map Journal and navigate to the section in which you want to embed the tweet. (Pro tip: Use placeholder text in your side panel sections to easily see where you want an embedded tweet to go.)
Once you’ve found your place, toggle on the source view, which makes visible all the HTML code for the content in that section.
***

***
With the source view open, find the desired location for your tweet, using the placeholder text if you included it. (Hint: You’ll find your text inside a set of paragraph tags,
<p> and </p> . These tell the app to start a new paragraph with whatever is contained within them.) Once you’ve found your location, paste the Twitframe snippet in between the paragraph tags.
***
3. Replace the tweet URL
***
***
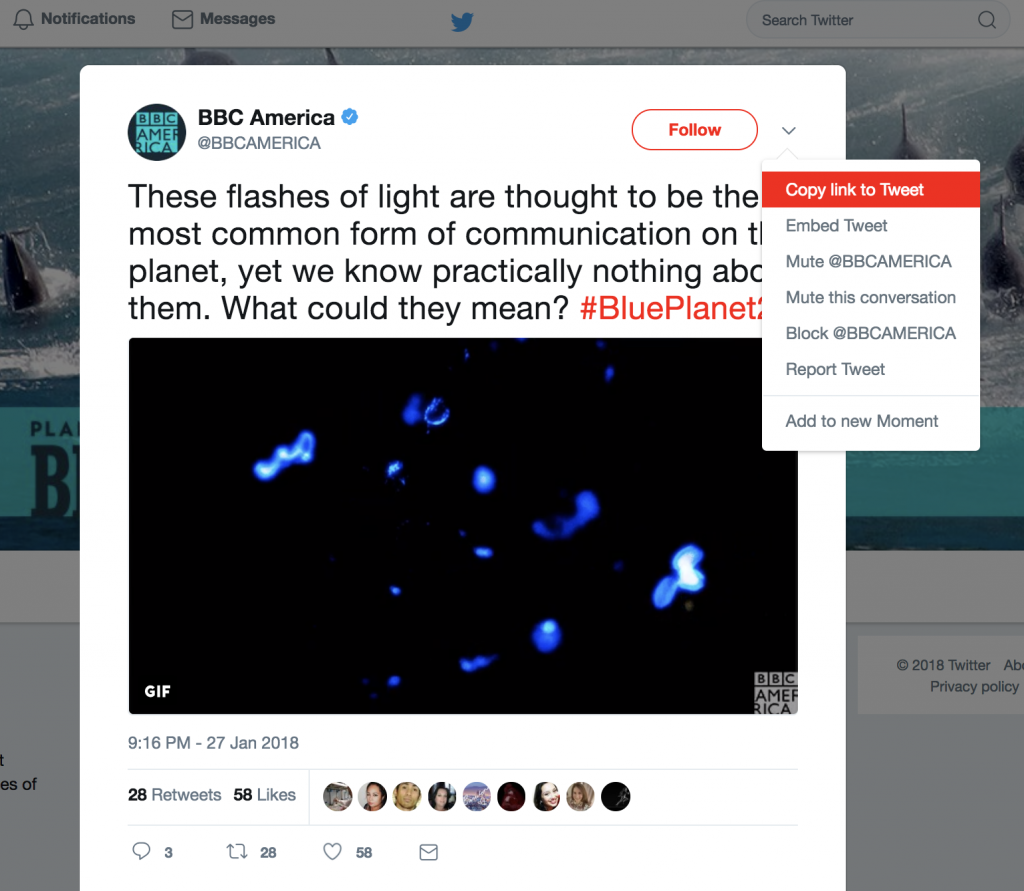
Once you’ve added in the generic iframe code, be sure to update the URL so that it points to the tweet you want to highlight. Simply grab the link for the tweet from the top of your browser or Twitter’s additional options menu.
Then go ahead and paste this at the end of the Twitframe snippet, replacing the link that follows /show?url= (Be careful not to paste over the closing set of quotes that comes right before </iframe>.)
***

***
4. Adjust width and height
***
Finally, you’ll need to do a little tinkering to get the size of the iframe just right. The width is easy—here you’ll just want to delete the generic 550 that comes after width= and replace it with 100%. This will ensure that the tweet fills the width of your side panel on all screen sizes.
***

***
Getting the height just right requires some trial and error: The perfect pixel number will vary based on the amount of text in a tweet, as well as the dimensions of any accompanying media. If your specified height is too small, only part of the tweet will be visible, and you’ll need to scroll down to reveal the rest. On the other hand, too tall of a height will create some extra, awkward-looking negative space that comes between the tweet and whatever content follows it. You can test out various heights by adjusting the number and then toggling the source view off to see your changes.
***
5. Save your work
***
Once you’ve got your iframe’s width and height all set, hit save to commit your changes. The tweet should appear in all its glory in the side panel of your story, and you can preview its attached media there, too.
***

***
That’s it—you’ve successfully embedded a tweet into your Map Journal. Go ahead, try adding a few more while you’re at it, and be sure to share your final pieces with the Story Maps team on Twitter!
***
Want to see a tweet-filled Map Journal in action? Check out this episode explainer for Blue Planet II’s “The Deep.”
***
P.S. – You can use the same principles outlined above to embed tweets into your Cascade stories as well. A key difference, though, is that you have to edit the code through the story’s JSON file. This is a bit more involved and has higher stakes. See how to get started here. *** ***


Commenting is not enabled for this article.