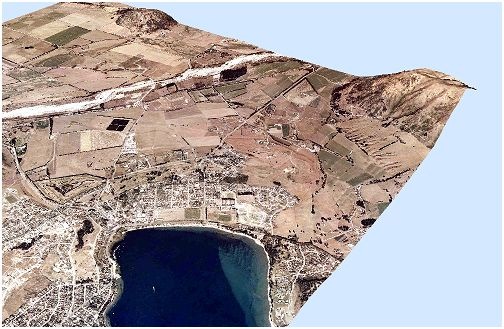
One question we hear a lot is “why does my high-resolution aerial imagery get downscaled when I add it into ArcScene?” The answer is that ArcScene automatically reduces all imagery resolution because ArcScene is memory-based and if your image is large (and exceeds available memory), ArcScene can become unresponsive. Think of the automatic downscaling as a self-defense mechanism.

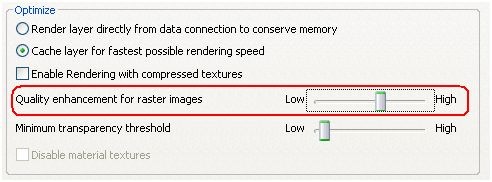
So, while you can’t change the default resolution of the imagery as it’s added into ArcScene, you can adjust the image resolution using a quality control slider after it’s in your document. The quality slider is on the raster layer’s Layer Properties dialog, under the Rendering tab, and is titled “Quality enhancement for raster images”. Move it one step to the right and click OK. The image should improve. Navigate around and, if you’re still happy with performance, try another notch up.
If you reach ArcScene’s performance limit and the image quality STILL isn’t good enough for your needs, then you will need to clip out a new, raster image for your area of interest, and then repeat the process of finding the most appropriate display quality on the slider. You can also keep the larger, full extent image in the Scene document (with a lower resolution) for general background, if needed to provide context.
The trick is to adjust the slider one step at a time, until you find the optimum “display vs performance” setting that you are after for this particular doc. This value is hard to predict because it is also reliant upon what other layers are inside your ArcScene view. Also, because it’s difficult to test for contiguous chunks of available memory before attempting to allocate it, you should save your document often.
Nathan Shepard
3Dteam

Commenting is not enabled for this article.